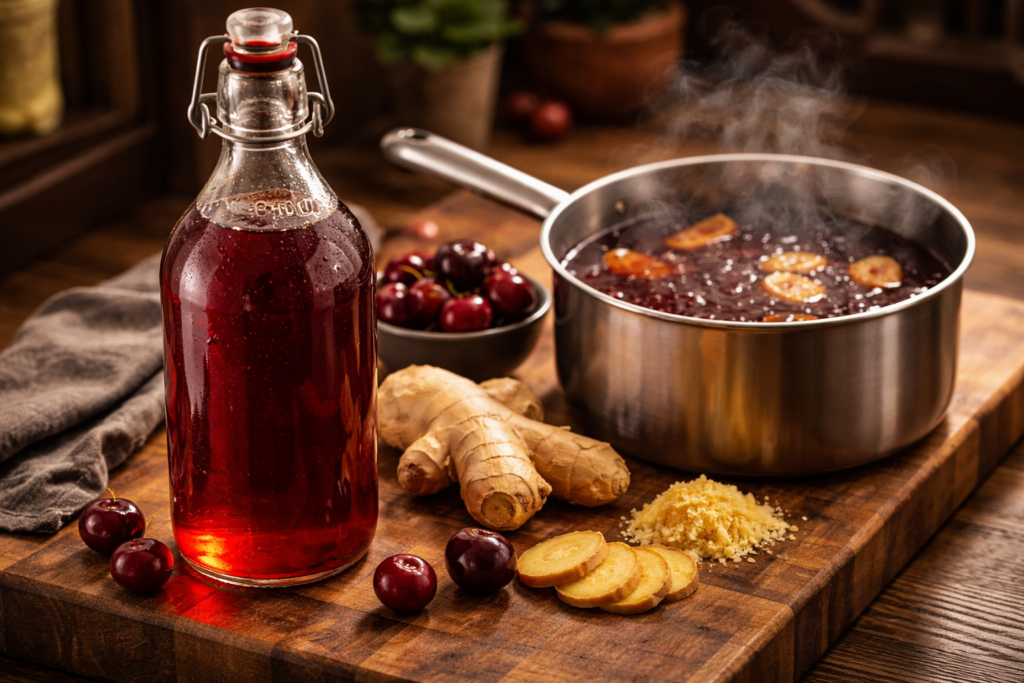
Black Orchard Old Fashioned leans into depth without losing its edge. ZingBing Syrup brings a layered sweetness—ginger up front, cherry just behind—while bourbon anchors the drink with warmth and structure. Angostura adds familiar spice, and black walnut bitters round everything out with a subtle, nutty richness that lingers on the finish.
It drinks darker than a classic Old Fashioned, but more defined—sweetness sharpened by bite, fruit grounded by bitterness. The result is balanced, composed, and just a little unexpected without straying from what makes the original work.
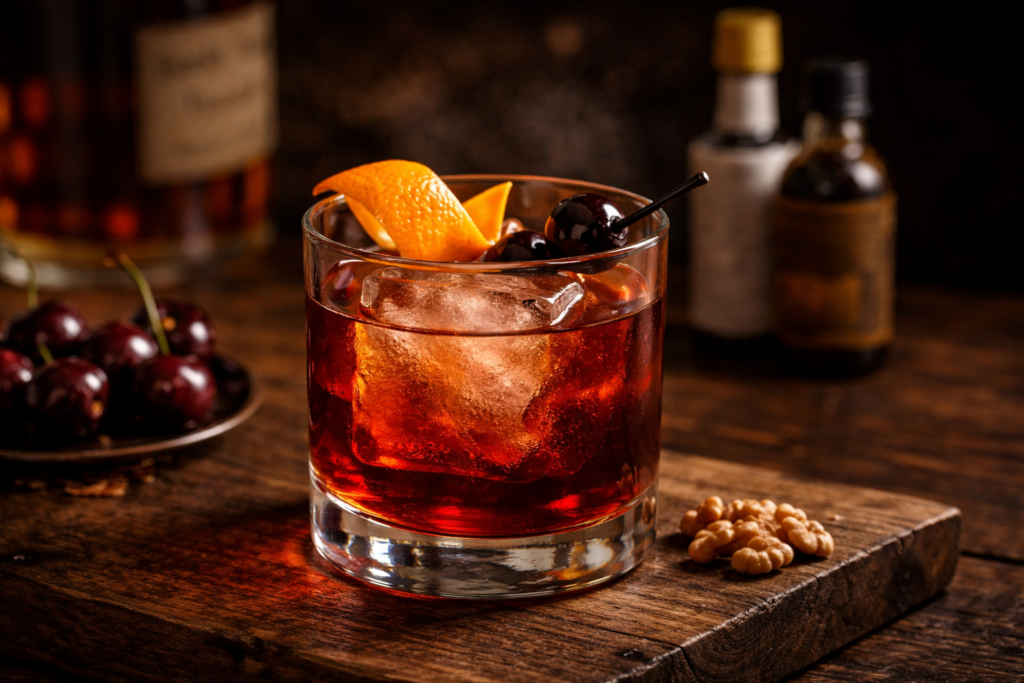

Black Orchard Old Fashioned
The Black Orchard Old Fashioned leans into depth without losing its edge. My ZingBing Syrup brings a layered sweetness—ginger up front, cherry just behind—while bourbon anchors the drink with warmth and structure. Angostura adds familiar spice, and black walnut bitters round everything out with a subtle, nutty richness that lingers on the finish.It drinks darker than a classic Old Fashioned, but more defined—sweetness sharpened by bite, fruit grounded by bitterness. The result is balanced, composed, and just a little unexpected without straying from what makes the original work.
Print
Pin
Servings: 1 drink
Calories: 140kcal
Ingredients
- 0.25 oz ZingBing simple syrup (click for recipe)
- 2 dashes Angostura® bitters
- 1 dash Fee Brothers® Black Walnut bitters
- 1 ice sphere
- 1 whole Filthy® cherry
- 2 oz Bulleit Bourbon
Instructions
- In an Old Fashioned (rocks) glass, add ¼ oz ZingBing simple syrup, 2 dashes Angostura bitters, and 1 dash Fee Brothers Black Walnut bitters.
- Add ice sphere to glass and pour 2 oz bourbon over sphere.
- With your bar spoon, stir contents of glass to chill the cocktail.
- With a vegetable peeler (or knife), remove an inch-wide section of an orange peel. Be sure not to cut past the pith (white part) so that the flesh of the orange isn't exposed.
- Strike a match and gently heat the orange part of the rind with the flame for 5-10 seconds.
- While holding match between the glass and the peel, give the rind a gentle squeeze to express the oil; the citrus oil will flame and settle onto the drink.
- Take the orange side of the peel and rub along the rim of the glass—this will ensure the remaining oil will flavor and scent the entire rim; place orange peel in glass.
- Skewer a Filthy® cherry with a garnish pick and toss in glass alongside the peel.
Nutrition
Calories: 140kcal | Carbohydrates: 1g | Sodium: 1mg | Potassium: 1mg | Sugar: 0.3g | Iron: 0.02mg