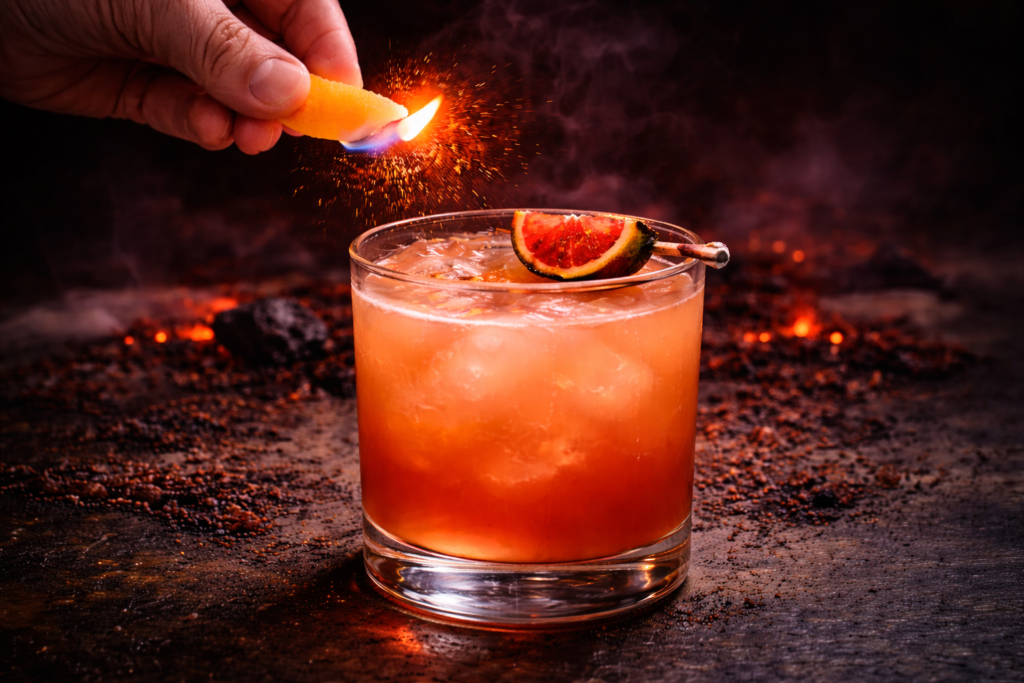
A mule with a tropical edge, Ass on Fire leans on ginger beer to lift the pineapple, lime, and reposado tequila into a bright, balanced build. Coconut water keeps it smooth, while the habanero heat lands right where the name suggests.

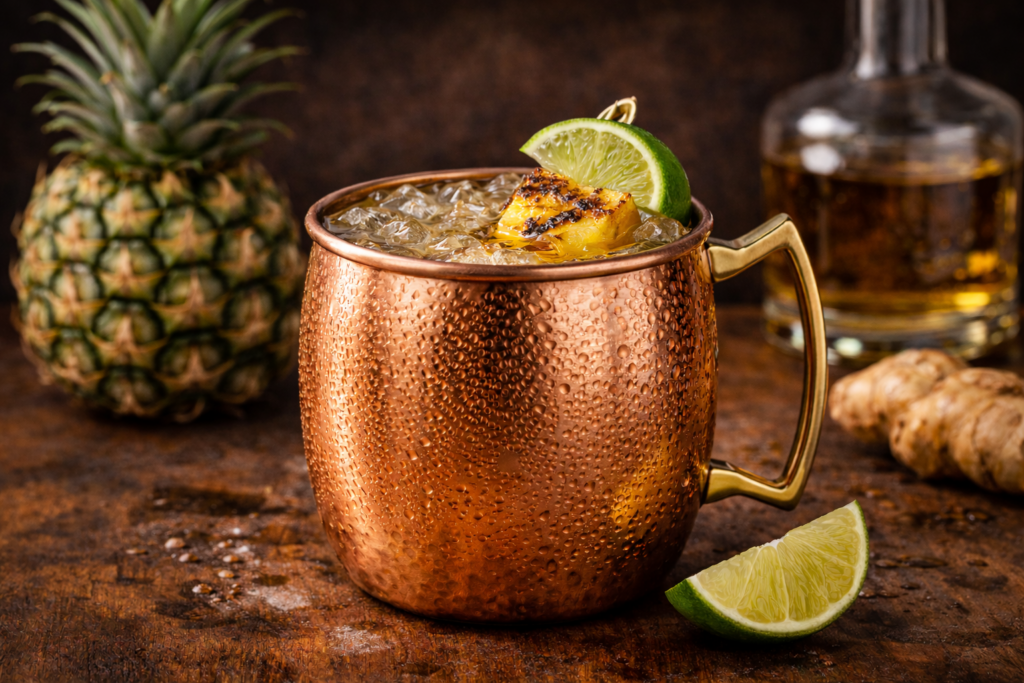

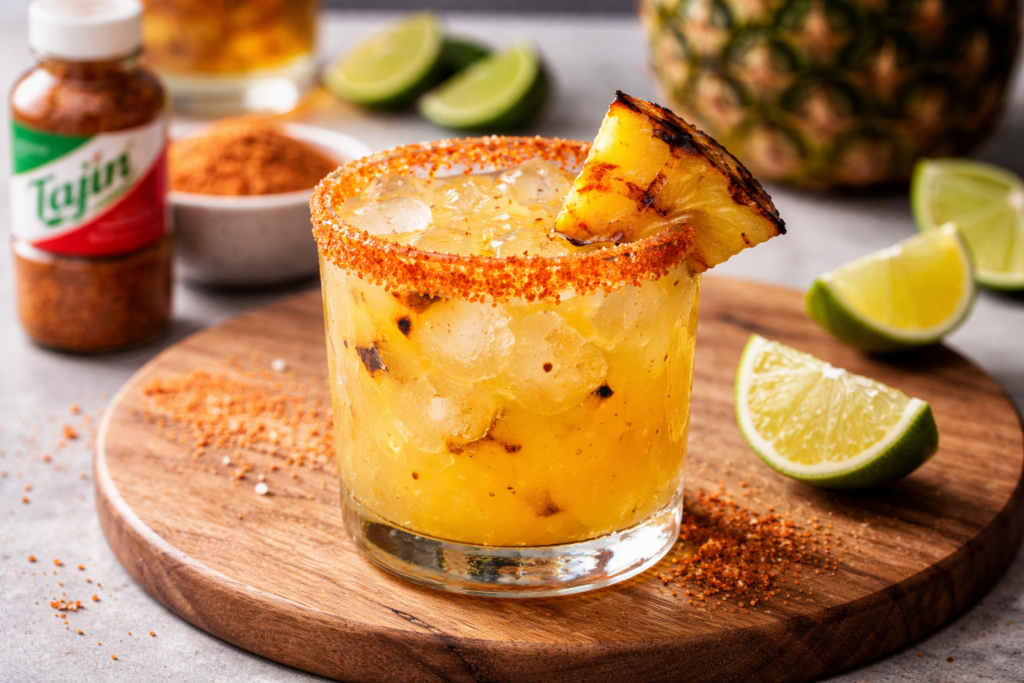
Ass on Fire
A mule with a tropical edge, Ass on Fire leans on ginger beer to lift the pineapple, lime, and reposado tequila into a bright, balanced build. Coconut water keeps it smooth, while the habanero heat lands right where the name suggests.
Print
Pin
Servings: 1 drink
Calories: 325kcal
Ingredients
Drink
- 2 oz reposado tequila
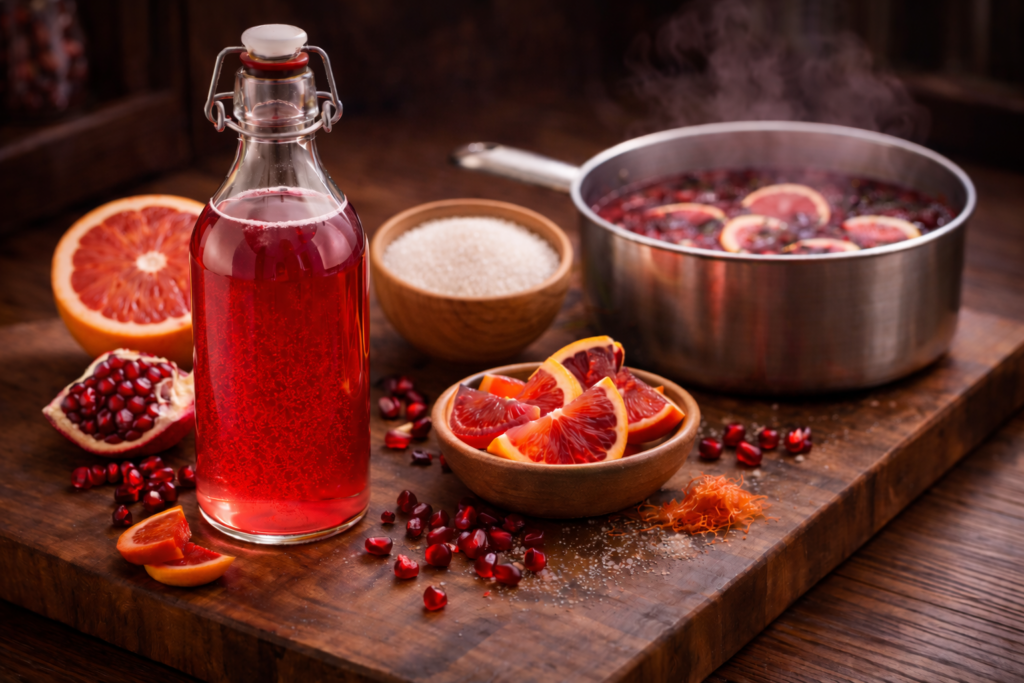
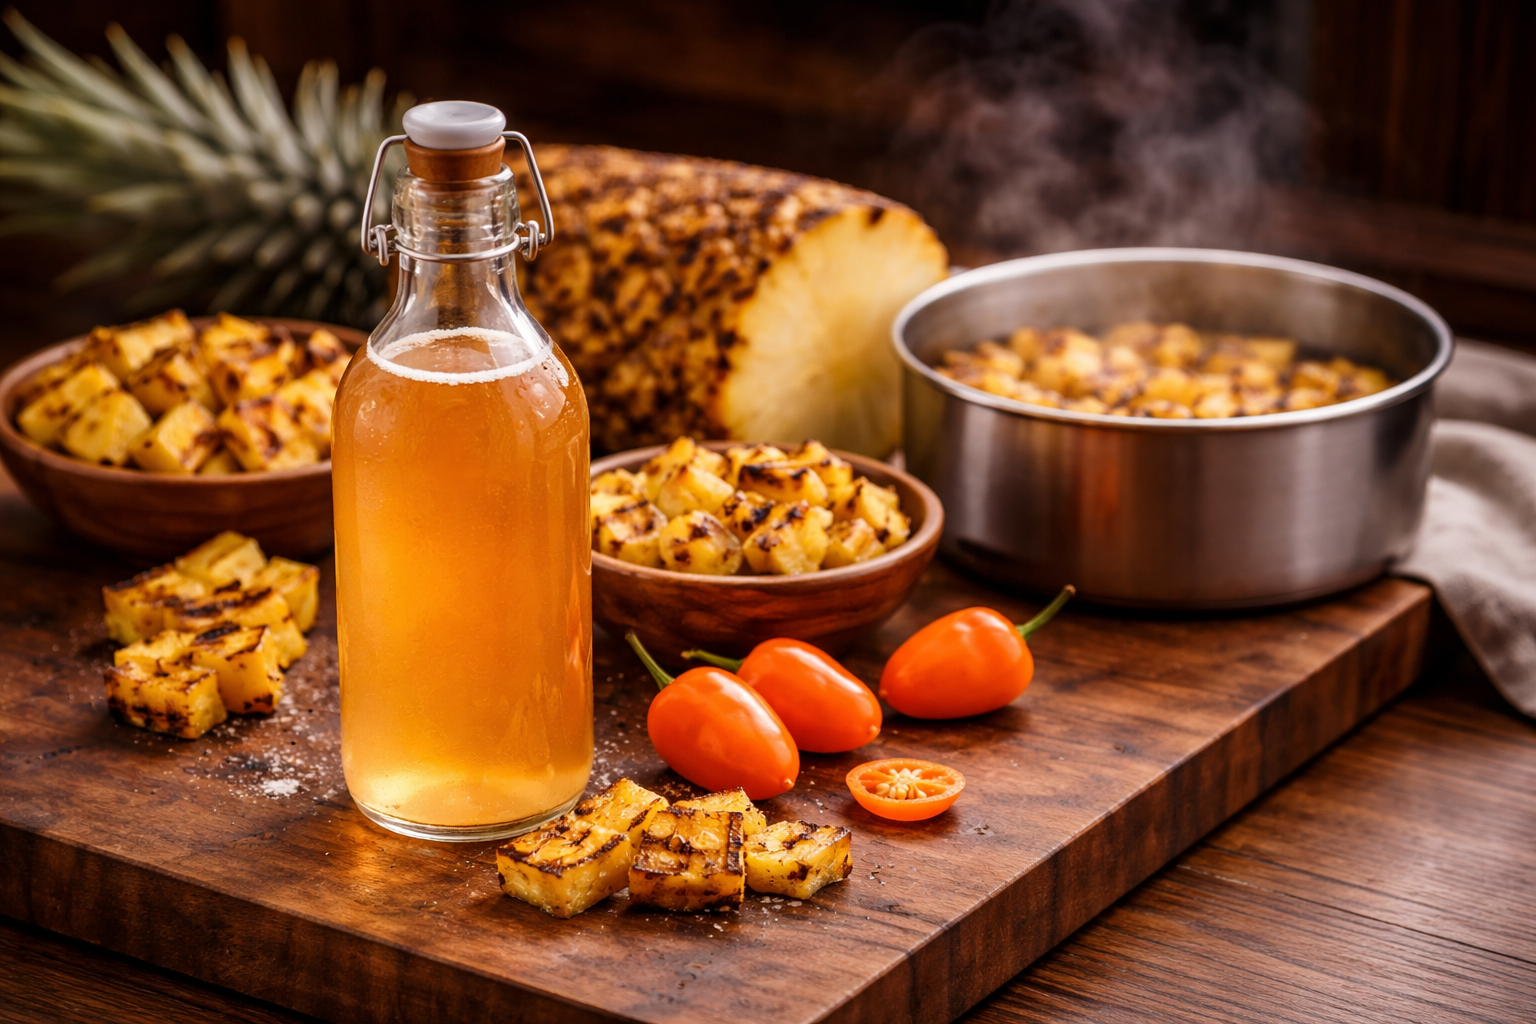
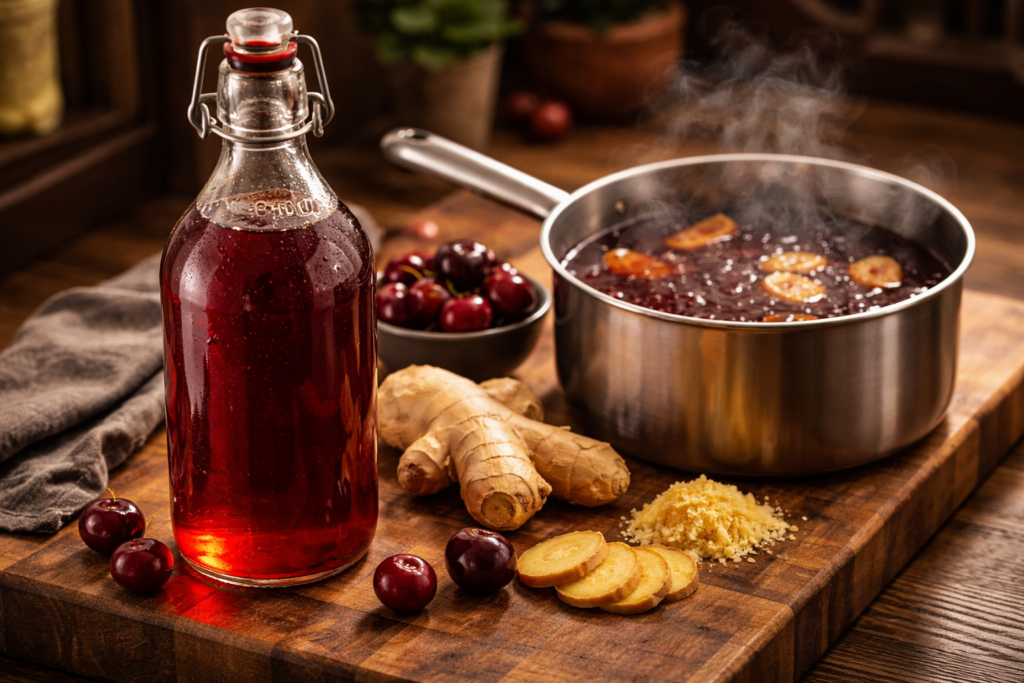
- ¾ oz Piña de Fuego syrup
- ¾ oz fresh lime juice
- ½ oz coconut water
- 2-3 oz Q Mixers ginger beer
Instructions
- Fill a chilled copper mule mug with ice.
- In Boston shaker, add 2 oz reposado tequila, ¾ oz Piña de Fuego syrup, ¾ oz fresh lime juice, and ½ oz coconut water.
- Fill shaker with ice and shake vigorously until outside of shaker tin is frosty.
- Use a Hawthorne strainer to strain liquid into prepared mule mug and top with 2-3 oz Q Mixers ginger beer.
- Garnish with ½ wheel lime and 1 chunk pineapple (charred) on garnish skewer; serve.
Nutrition
Calories: 325kcal | Carbohydrates: 50g | Protein: 1g | Fat: 0.3g | Saturated Fat: 0.03g | Polyunsaturated Fat: 0.1g | Monounsaturated Fat: 0.02g | Sodium: 22mg | Potassium: 265mg | Fiber: 3g | Sugar: 42g | Vitamin A: 119IU | Vitamin C: 93mg | Calcium: 35mg | Iron: 1mg