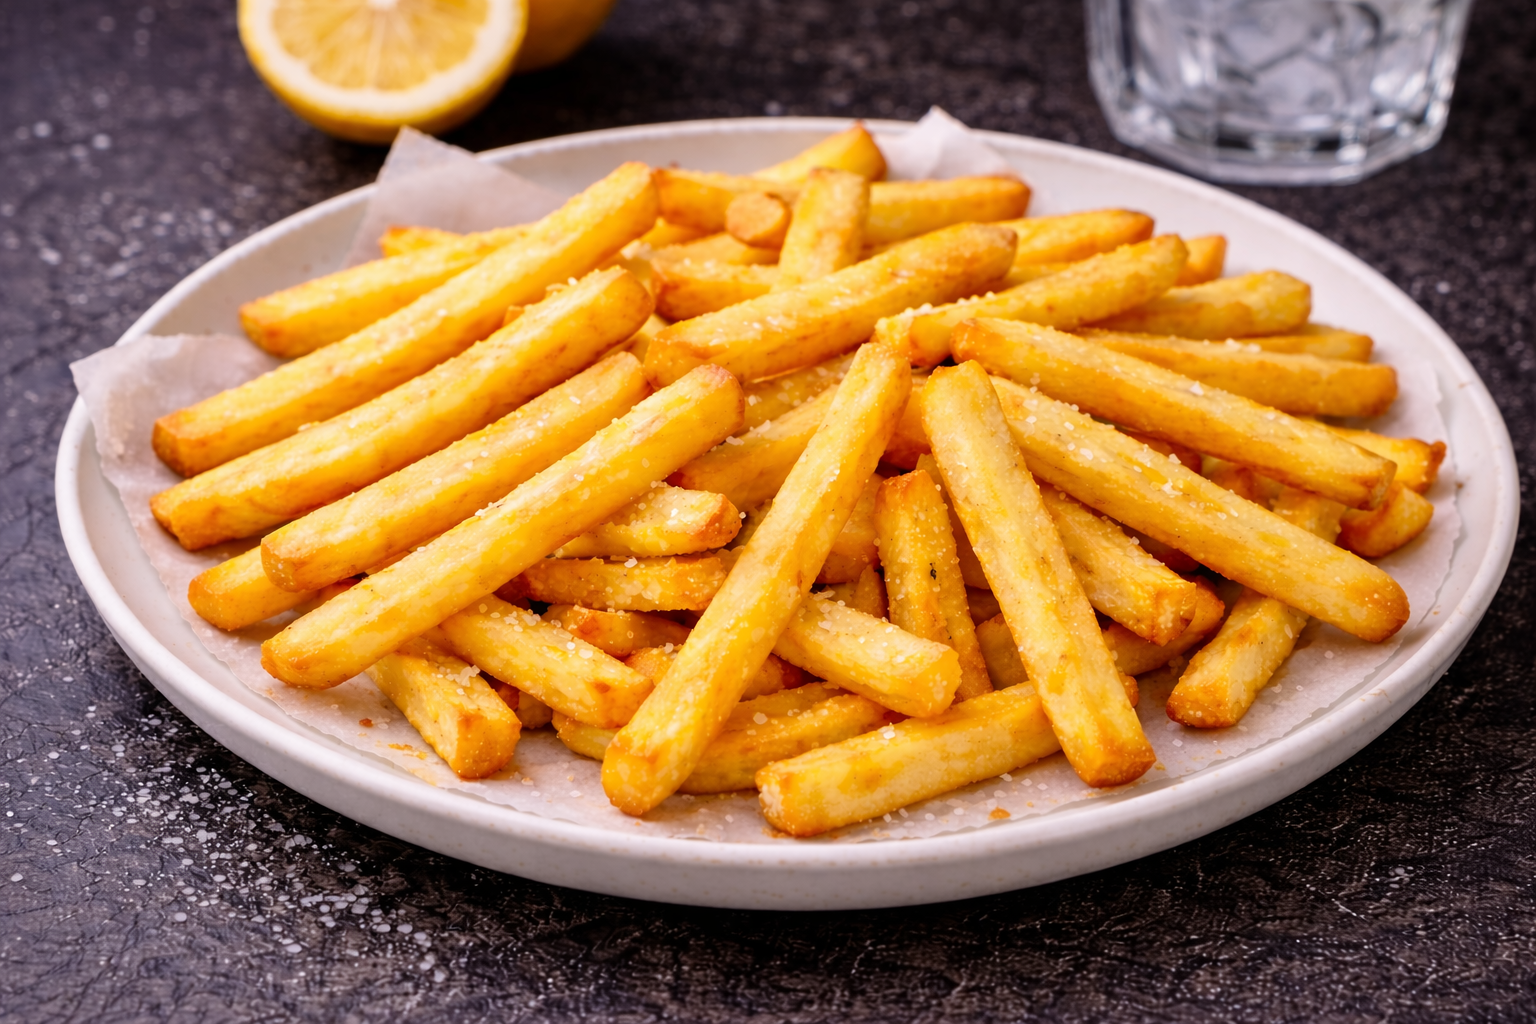
Classic hand-cut pommes frites made using the traditional double-fry method with a twist: a gentle vinegar blanch at a low temperature, an initial fry, a rest in the refrigerator, and a final fry. The technique produces fries that are beautifully crisp on the outside and a soft, fluffy inside.


Hand Cut Pommes Frites
Classic hand-cut pommes frites made using the traditional double-fry method with a twist: a gentle vinegar blanch at a low temperature, an initial fry, a rest in the refrigerator, and a final fry. The technique produces fries that are beautifully crisp on the outside and a soft, fluffy inside.
Print
Pin
Servings: 4 servings
Calories: 2094kcal
Equipment
Ingredients
- 4 whole russet potatoes
- 2 tbsp white vinegar
- 1 tbsp salt
- 1 qt canola oil
Instructions
Wash & Peel
- Wash and peel potatoes, making sure to re-rinse each potato after peeling, drying each with a paper towel, and setting aside on butcher block for next step.
Cut
- Using your chef's knife, cut potatoes into ¼" (6mm) batons.
- Place cut batons into a bowl of lightly-salted water to prevent browning as you cut all the potatoes. Though the cut batons soak here, I veer from the traditional longer soak method and opt for blanching (see below).
Rinse
- Carefully transfer cut batons into a strainer or colander and rinse thoroughly under running water for about 30 seconds.
Vinegar Blanch
- Carefully transfer rinsed batons into a 6-quart stockpot and add 1 tbsp salt, 2 quarts water, and 2 tbsp white vinegar to the pot. Bring pot to a boil over high heat, immediately reducing heat to low once it reaches a boil. Cook for 10 minutes, then carefully transfer batons back into colander using a spider strainer or slotted spoon.
TIP: DO NOT dump stock pot into colander! Blanching has softened the batons and they will break.
Sheet-Pan Dry
- Line two baking sheets with paper towels.
- Carefully spread the batons evenly on lined baking sheets and leave to dry for at least 5 minutes.
- Carefully lift paper towel with dried batons from baking sheet and place onn counter.
- Re-line baking sheets with fresh paper towels.
Frying - Round One
- Heat 1 quart canola (or peanut) oil to 400℉ in wok (or fry pan) over medium-high heat.
- Using a spiderweb or slotted spoon, lower potato batons in small batches and cook for 1 minute, moving them around once or twice while they cook. Remove from oil and place cooked fries onto freshly-lined baking sheet.
- Repeat with small batches until all fries are cooked.
TIP: After 2-3 minutes of burner being on, place a toothpick in the oil. You know the oil is ready (hot enough) when bubbles form around the toothpick.
TIP: DO NOT salt the fries when they come out of the oil during the first round of frying. Salt breaks down the fat in the oil and also reduces the smoking point, so if you salt them during this round, you will be adding tons of salt to the oil during round two of frying and your fries will not cook properly.
Chill
- Place fries to chill in refrigerator to chill for a minimum of 30 minute
TIP: If you have to prep other parts of your meal, this is the perfect time to do it. Save Round Two of frying for the final step in your meal prep so your fries are piping hot when served.
Frying - Round Two
- Line a large bowl with paper towels.
- Reheat the canola (or peanut) oil to 400℉ in wok (or fry pan) over medium-high heat.
- Fry half the fries for 4 minutes, moving them around once or twice, until golden and crispy, transferring cooked fried to the lined bowl.
- Repeat with second half, then sprinkle with salt (or preferred seasoning). Gently toss to coat the fries with seasoning and serve!
Nutrition
Calories: 2094kcal | Carbohydrates: 0.2g | Protein: 0.02g | Fat: 237g | Saturated Fat: 17g | Polyunsaturated Fat: 66g | Monounsaturated Fat: 150g | Trans Fat: 1g | Sodium: 1744mg | Potassium: 5mg | Fiber: 0.01g | Sugar: 0.01g | Vitamin A: 0.01IU | Vitamin C: 0.1mg | Calcium: 2mg | Iron: 0.03mg