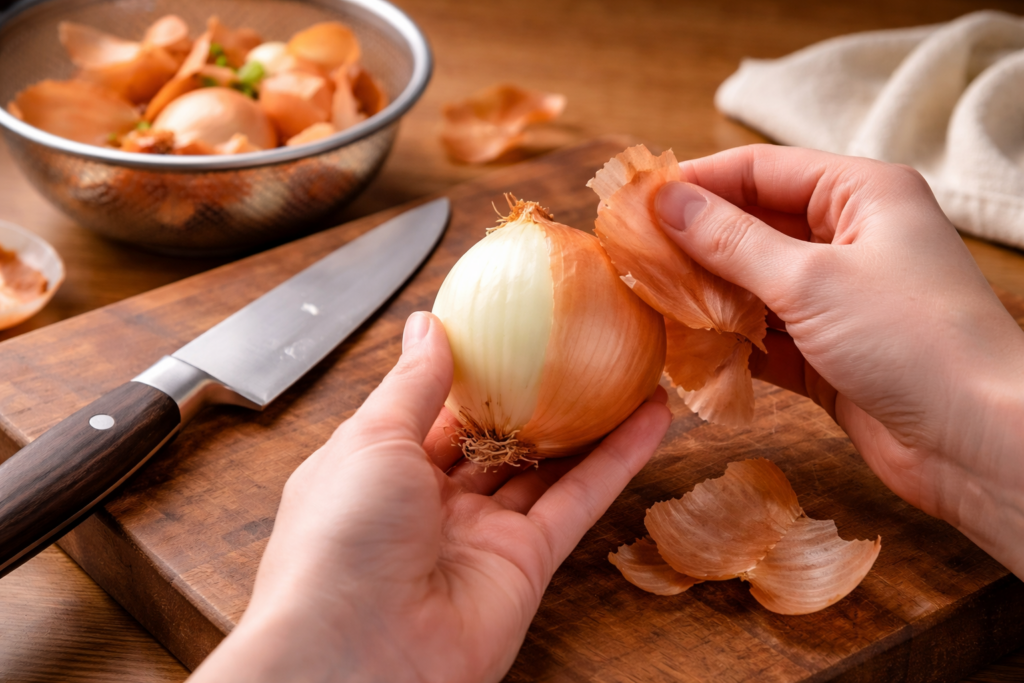
Dicing an onion is one of the first knife skills most people learn, but it’s also one of the most commonly rushed. The result is often uneven pieces, wasted product, or an unstable onion that makes the process harder than it needs to be.
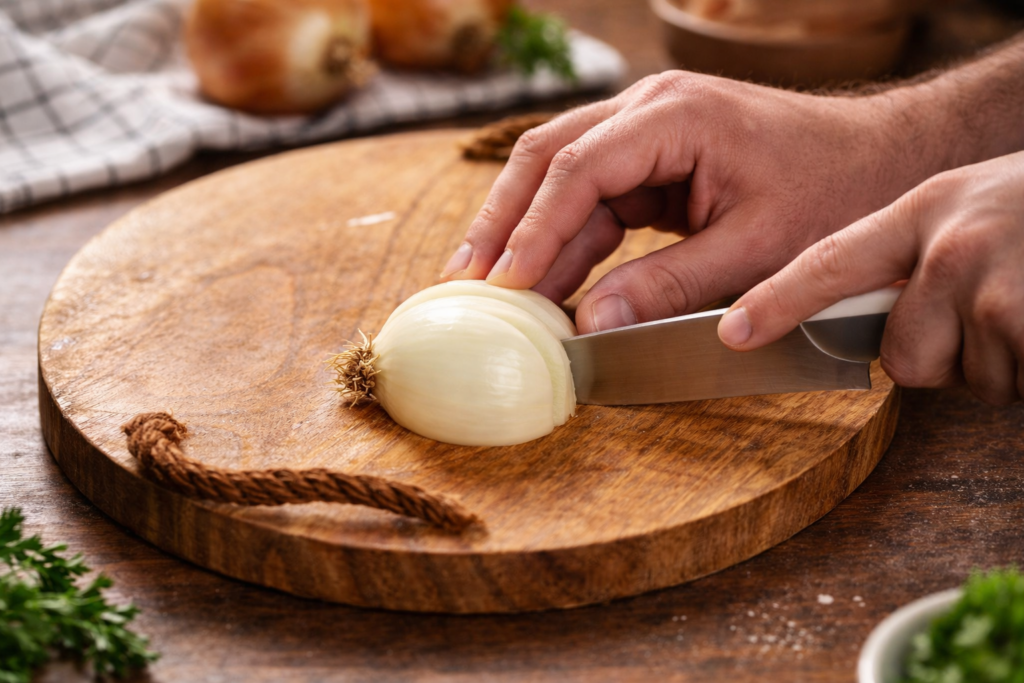
A proper dice isn’t about speed. It’s about control, consistency, and using the structure of the onion to guide your cuts.