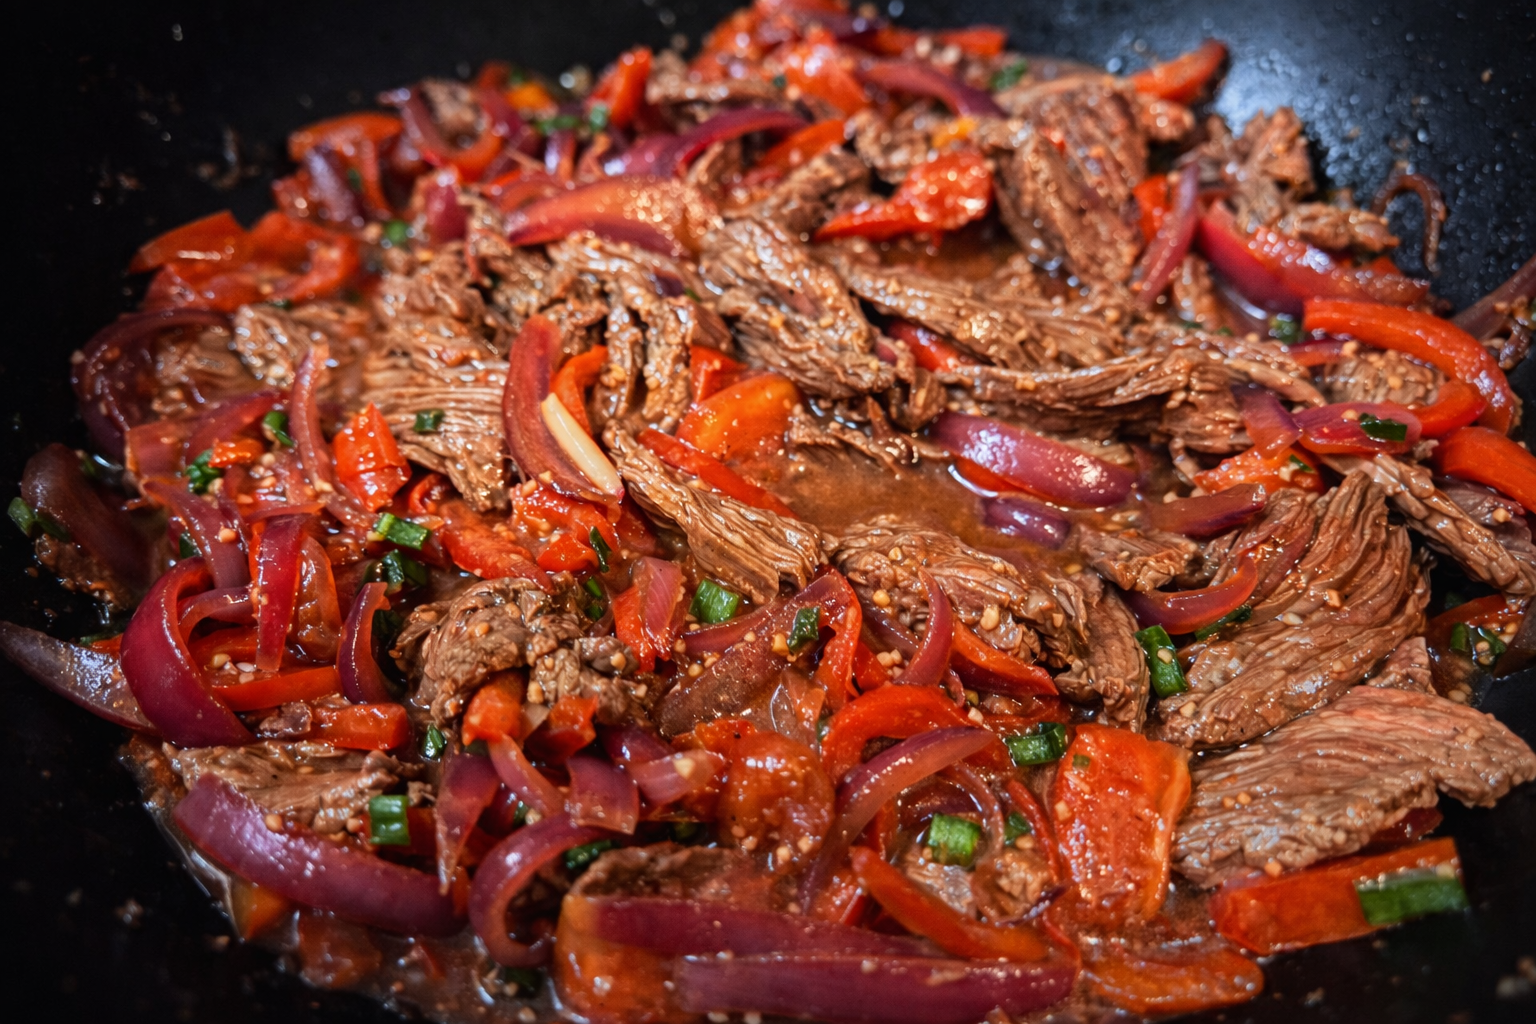
American Chop Suey is a one-pot classic built on simplicity done well—elbow macaroni folded into a savory tomato and beef sauce with softened onions, peppers, celery, and garlic. It’s hearty without being heavy, balancing acidity from the tomatoes with the richness of the meat, while a touch of Velveeta melts in to give the sauce a smoother, more cohesive finish.
The result is a dish that eats like comfort but holds its structure—sauce clinging to every curve of pasta, each bite consistent from start to finish. Depending on where you are, you might hear it called American Goulash, Johnny Marzetti, or something similar, but the foundation stays the same: familiar, unfussy, and built to satisfy.

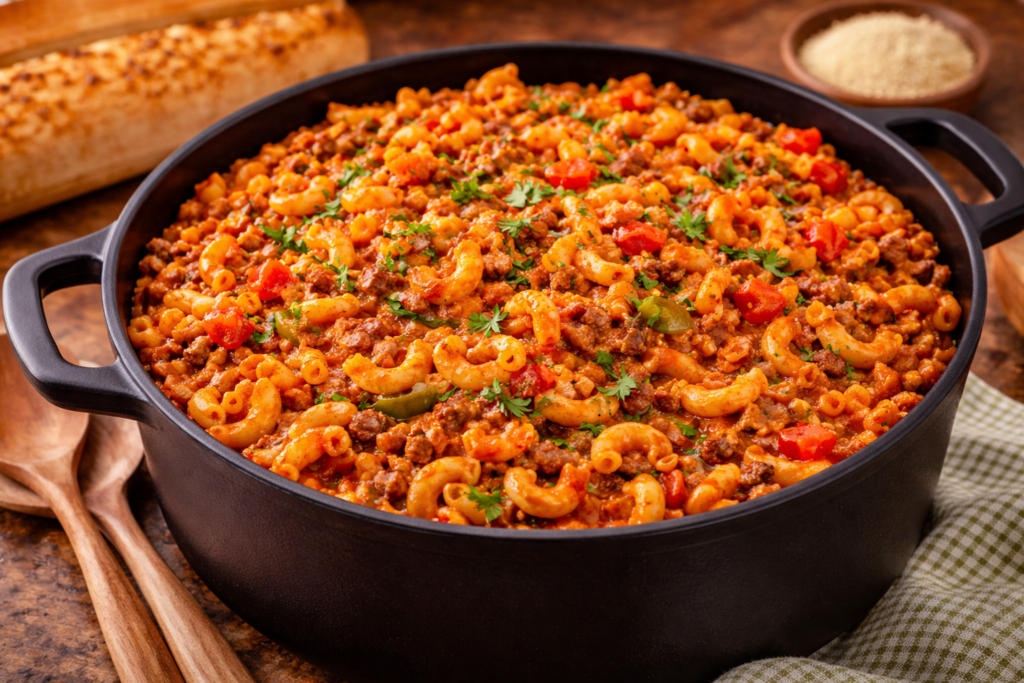

American Chop Suey
American Chop Suey is a one-pot classic built on simplicity done well—elbow macaroni folded into a savory tomato and beef sauce with softened onions, peppers, celery, and garlic. It’s hearty without being heavy, balancing acidity from the tomatoes with the richness of the meat, while a touch of Velveeta melts in to give the sauce a smoother, more cohesive finish.The result is a dish that eats like comfort but holds its structure—sauce clinging to every curve of pasta, each bite consistent from start to finish. Depending on where you are, you might hear it called American Goulash, Johnny Marzetti, or something similar, but the foundation stays the same: familiar, unfussy, and built to satisfy.
Print
Pin
Servings: 8 servings
Calories: 629kcal
Ingredients
- 2 tbsp butter
- 1 large yellow onion (diced)
- 2 stalks celery (chopped)
- 1 whole green bell pepper (diced)
- 2 cloves garlic (minced)
- 1 lb ground beef
- 1 lb mild ground sausage (optional)
- 1 tbsp Kosher salt
- ½ tsp black pepper (ground)
- 1 tsp onion powder
- 1 tsp paprika
- 1 tsp celery seed
- 1 tsp dried oregano
- 1 tsp dried basil
- 1 tbsp Worcestershire sauce
- 14 oz diced tomatoes (undrained)
- 10.75 oz tomato soup
- 10 oz passata
- 6 oz tomato paste
- 2-3 cups beef stock
- 8 oz elbow macaroni
- 12 oz Velveeta cheese (cubed)
- ¼ cup fresh parsley (chopped)
- parmesan cheese (grated)
Instructions
Wash the Vegetables
- Thoroughly wash and dry green pepper, celery, onion, garlic, and parsley.
Soak the Pasta
- Instead of cooking the pasta (as most recipes call for), I soak my pasta in hot water for about 20 minutes—while I prepare the rest of the ingredients—and finish cooking it in the sauce later.
The traditional recipe calls for elbow macaroni, but you can use other tubular pasta. I like to use cavatappi or mini penne (because they hold up better for leftovers).
Cut the Vegetables
- With the butcher block and chef's knife, dice 1 large yellow onion and set aside in prep bowl.
- Chop 2 stalks celery and set aside in prep bowl.
- Dice 1 whole green bell pepper and set aside in prep bowl.
- Mince 2 cloves garlic and set aside in prep bowl.
- Trim stems off parsley and coarsely chop leaves, enough to fill ¼ cup.
Cook Vegetables
- Heat Dutch oven over medium high heat and melt 2 tbsp butter.
- Add diced onion, diced green pepper, and chopped celery to Dutch oven and cook until tender.
- Add minced garlic to Dutch oven and brown for 1-2 minutes.
- Remove cooked vegetables from pan and set aside in mixing bowl.
Brown Meat
- Add 1 lb ground beef to Dutch oven and season with 1 tbsp Kosher salt, ½ tsp black pepper, 1 tsp dried oregano, 1 tsp dried basil, 1 tsp onion powder, 1 tsp paprika, and 1 tsp celery seed directly in pan.
- Once meat is browned, drain excess fat.
- Return meat to pan and add 1 tbsp Worcestershire sauce, stirring to combine.
If you'd like to make the dish a bit more hearty, add the optional 1 lb ground sausage.
The Sauce
- Return veggies back to pan.
- Empty 14 oz diced tomatoes (undrained) to pan; stir to combine
- Add 10.75 oz tomato soup, 10 oz passata (or tomato sauce), 6 oz tomato paste, and 2-3 cups beef stock; stir to combine and bring to a boil.
If you would like to add a little kick to the dish, substitute the plain diced tomatoes with a can mixed with green chilis instead.
Add Pasta
- While sauce is heating to a boil, reserve 1 cup of pasta soaking water; set aside.
- Strain pasta with colander.
- Once pot has started to boil, add pre-soaked pasta and reserved pasta water to pot and stir to combine.
- Cover with lid and let pasta simmer for 5-7 minutes (or until desired tenderness).
Cheese
- While pasta is cooking, cut 12 oz Velveeta cheese into cubes (so that it will melt easier).
- Once pasta has finished cooking, add Velveeta cheese cubes to pot and stir until combined.
Serve
- Garnish each serving with grated parmesan cheese and freshly-chopped parsley.
Nutrition
Calories: 629kcal | Carbohydrates: 45g | Protein: 35g | Fat: 35g | Saturated Fat: 14g | Polyunsaturated Fat: 3g | Monounsaturated Fat: 13g | Trans Fat: 1g | Cholesterol: 106mg | Sodium: 2453mg | Potassium: 1398mg | Fiber: 4g | Sugar: 15g | Vitamin A: 1594IU | Vitamin C: 23mg | Calcium: 334mg | Iron: 5mg