Aromatic Blends

Aromatic blends are where cooking begins—long before a dish takes shape on the plate. By gently cooking a combination of vegetables, herbs, and fat at the start, you create a foundation that allows everything else to develop with depth and cohesion. As these ingredients soften and transform, they move from sharp and separate to something unified, carrying flavor forward into every layer that follows.

Across cuisines, the ingredients may change, but the purpose remains the same: build flavor early so the dish doesn’t have to chase it later. Understanding how to work with aromatics—how heat, fat, and time shape their character—gives you control over the final result. It’s a simple step, but one that defines how everything else comes together.

Aromatic Blends

Where It Begins

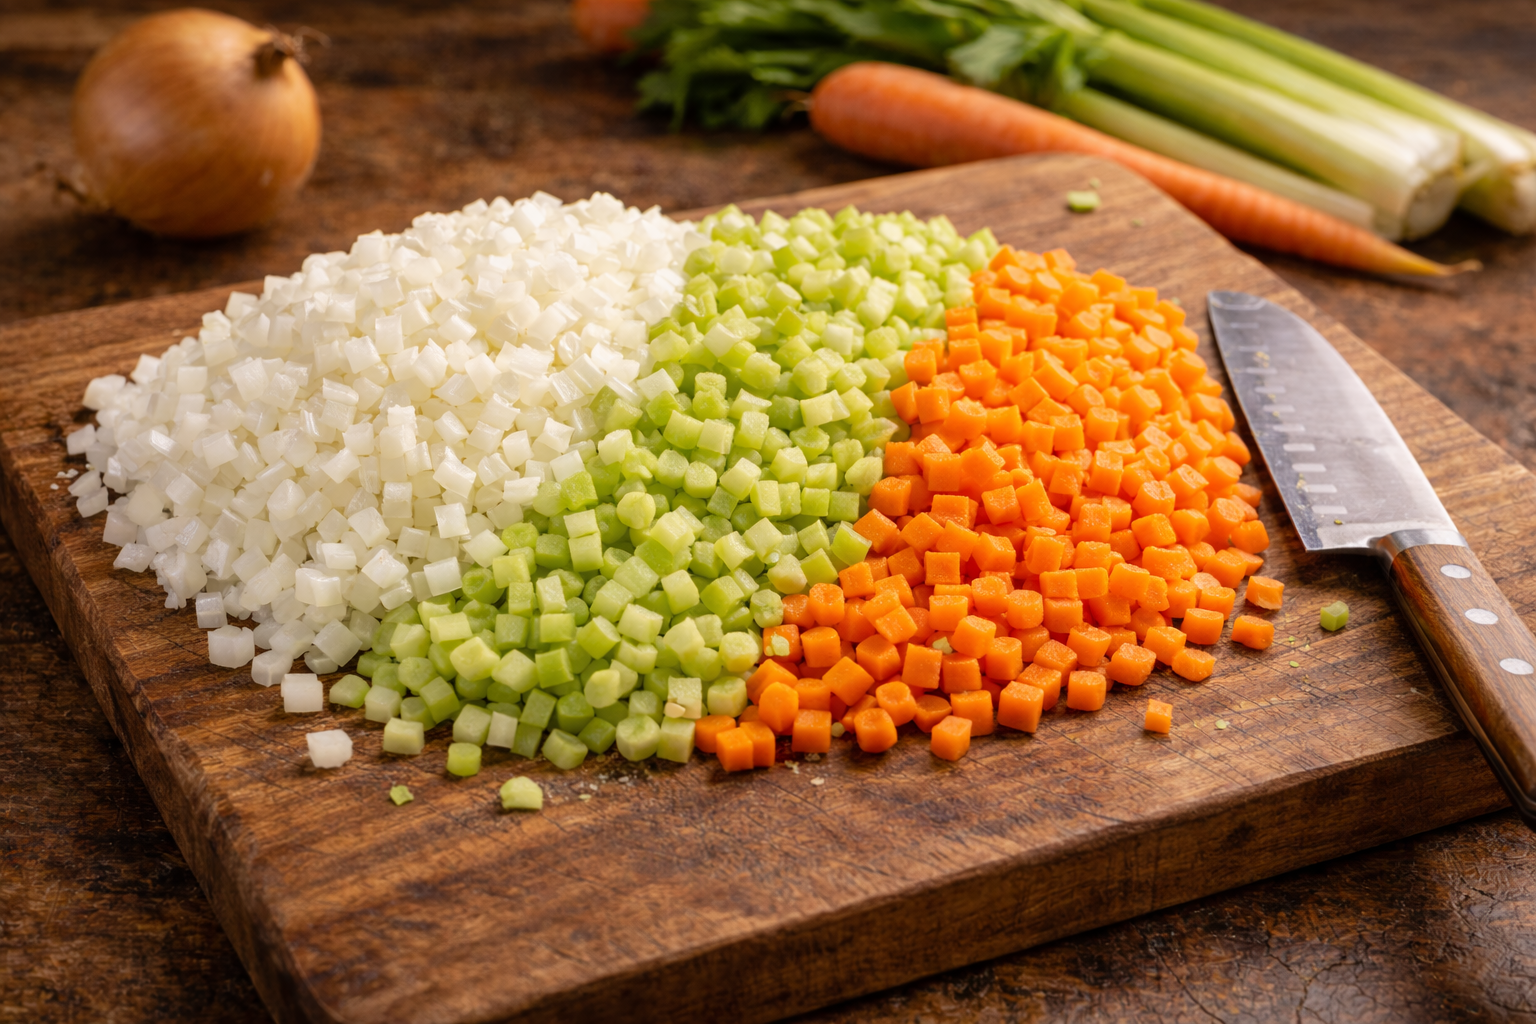
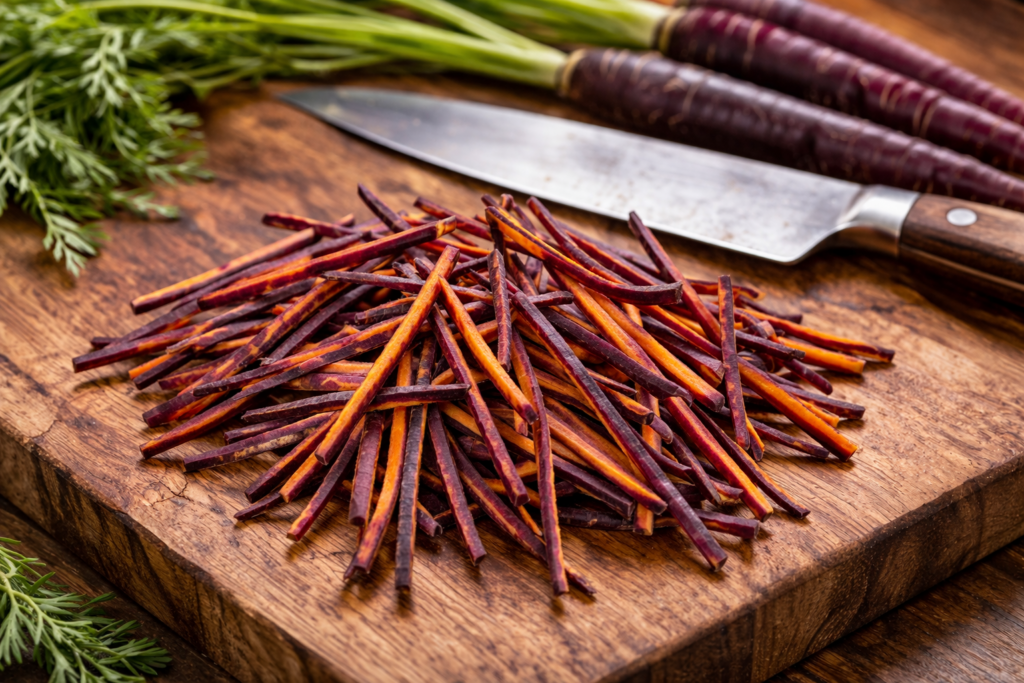
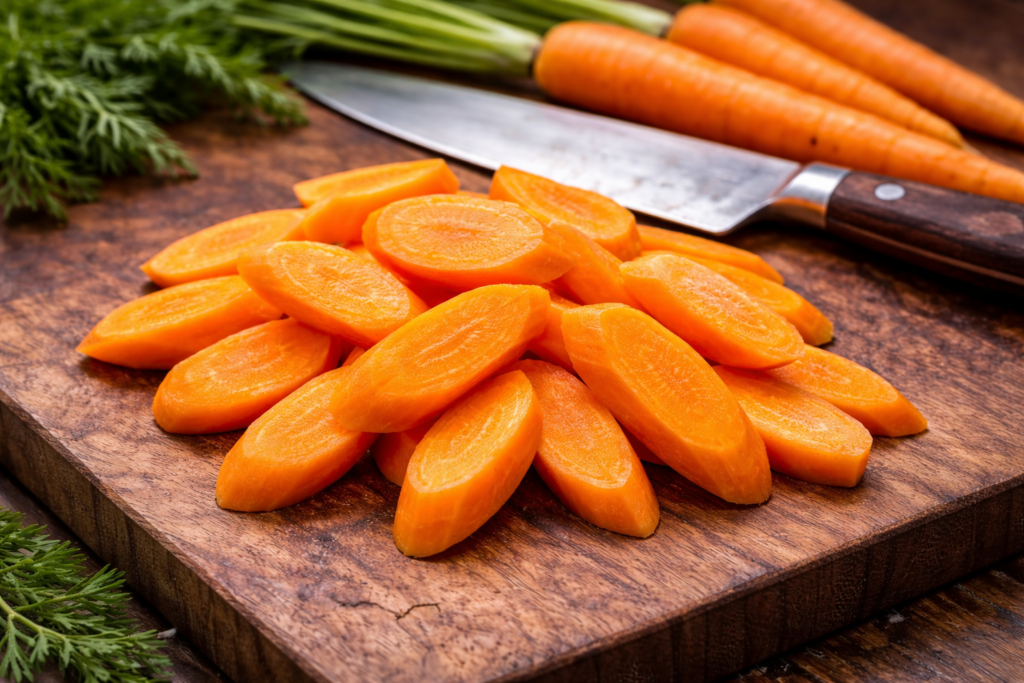
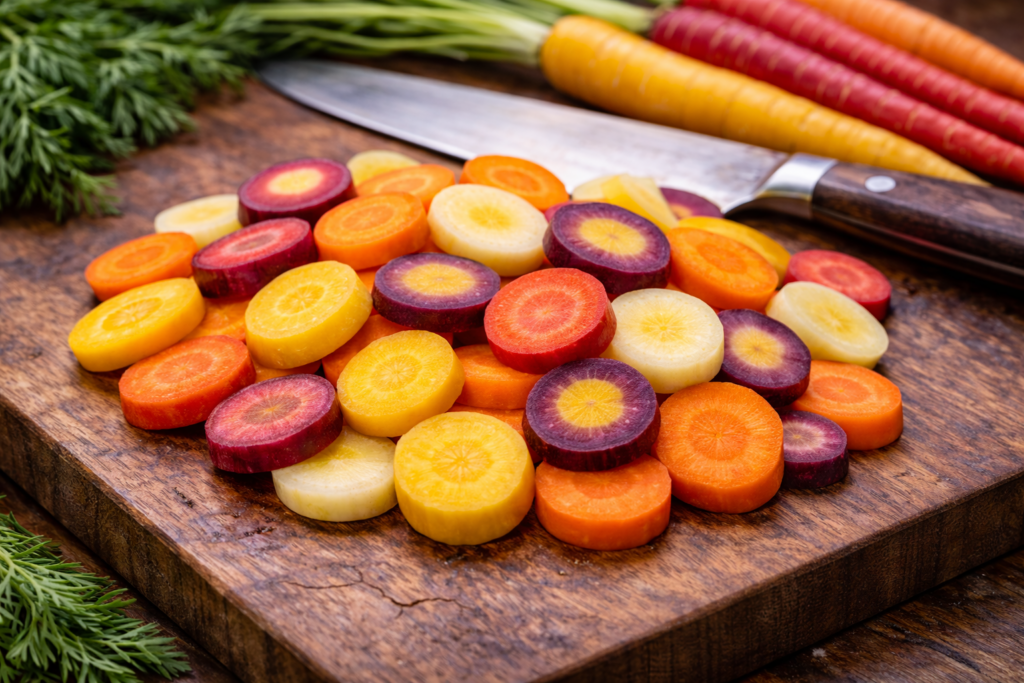
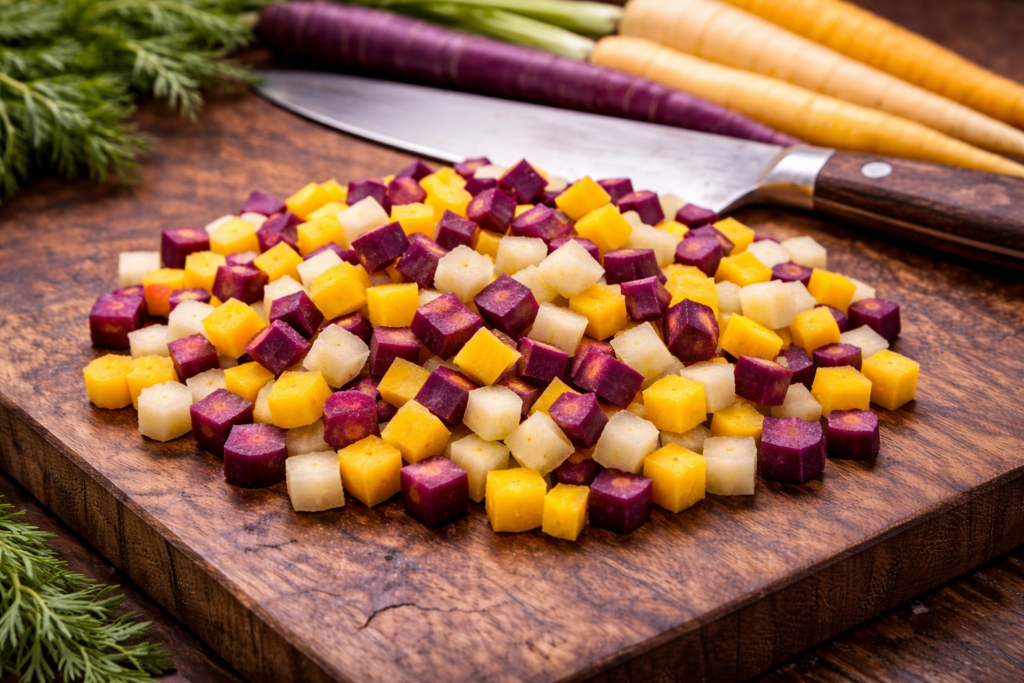
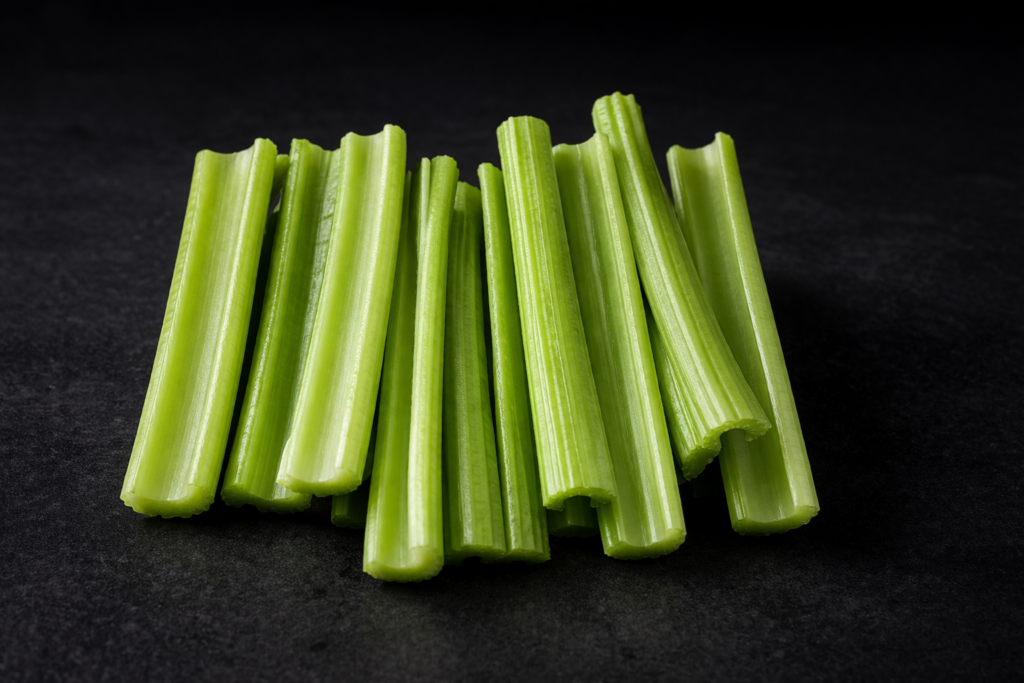
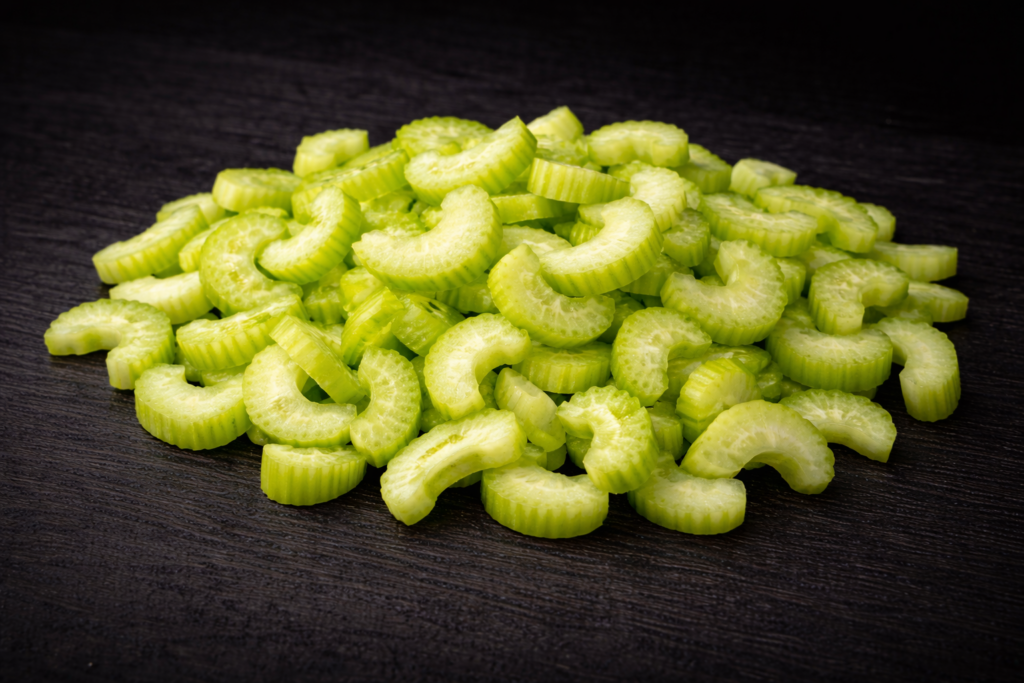
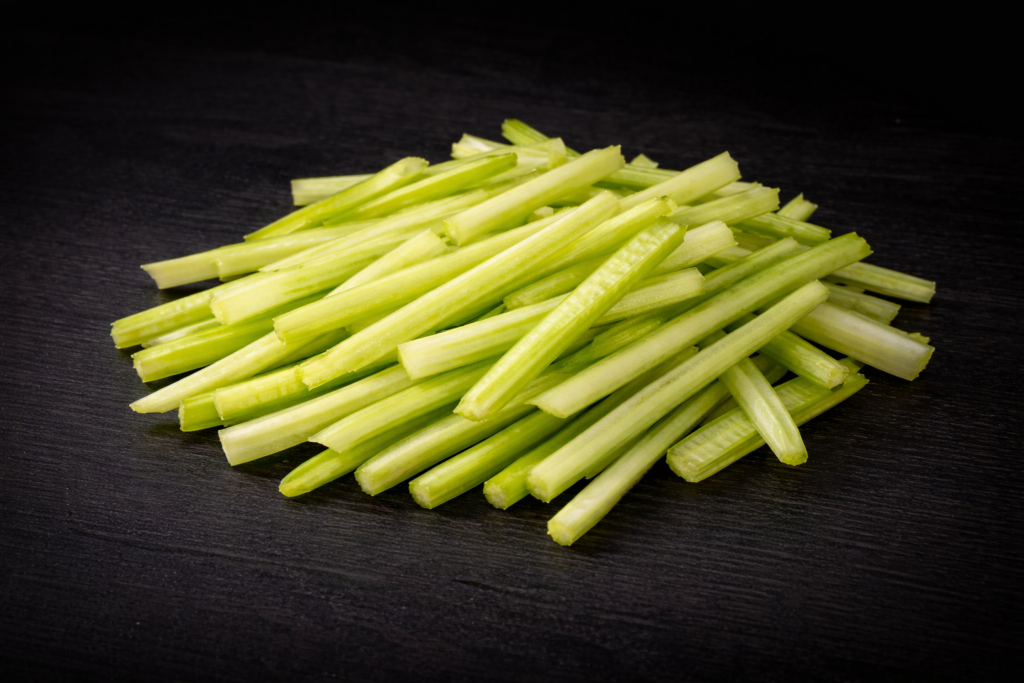
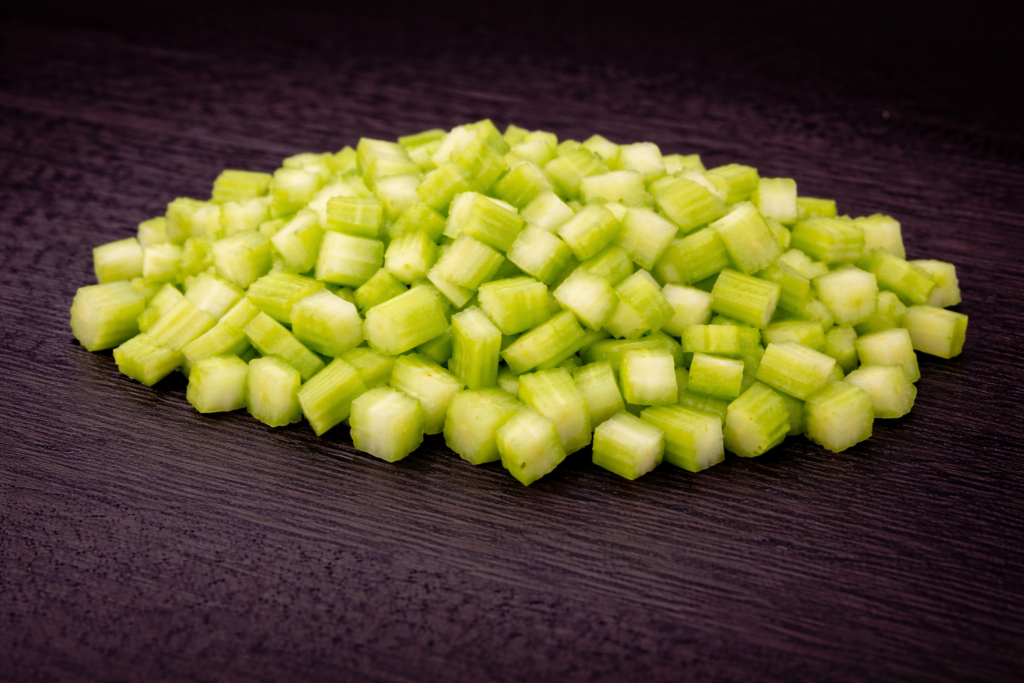
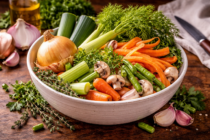
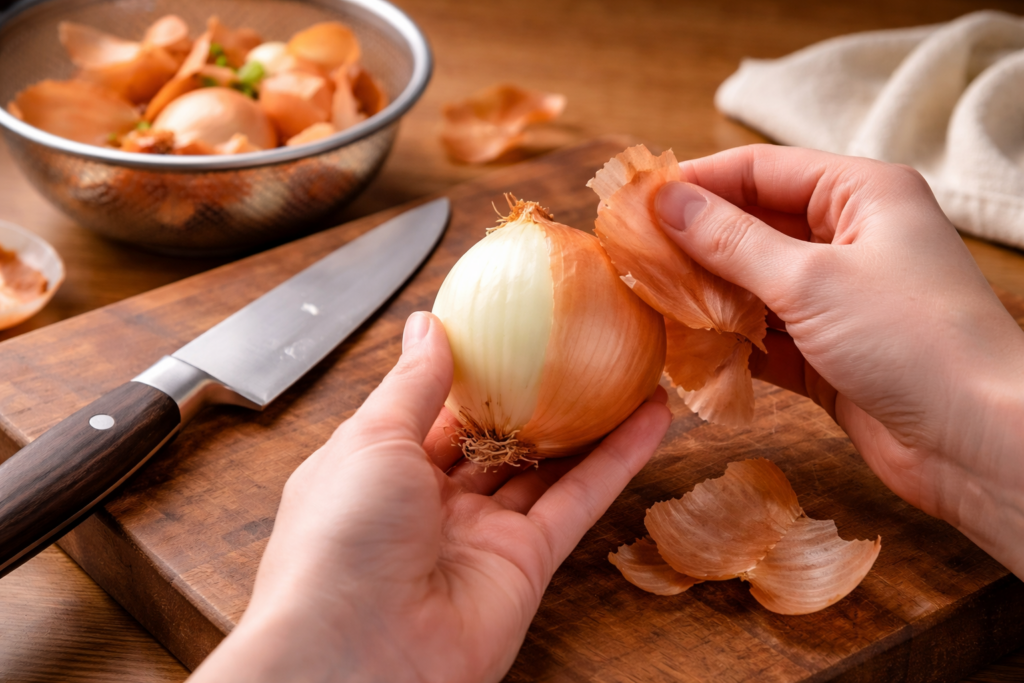
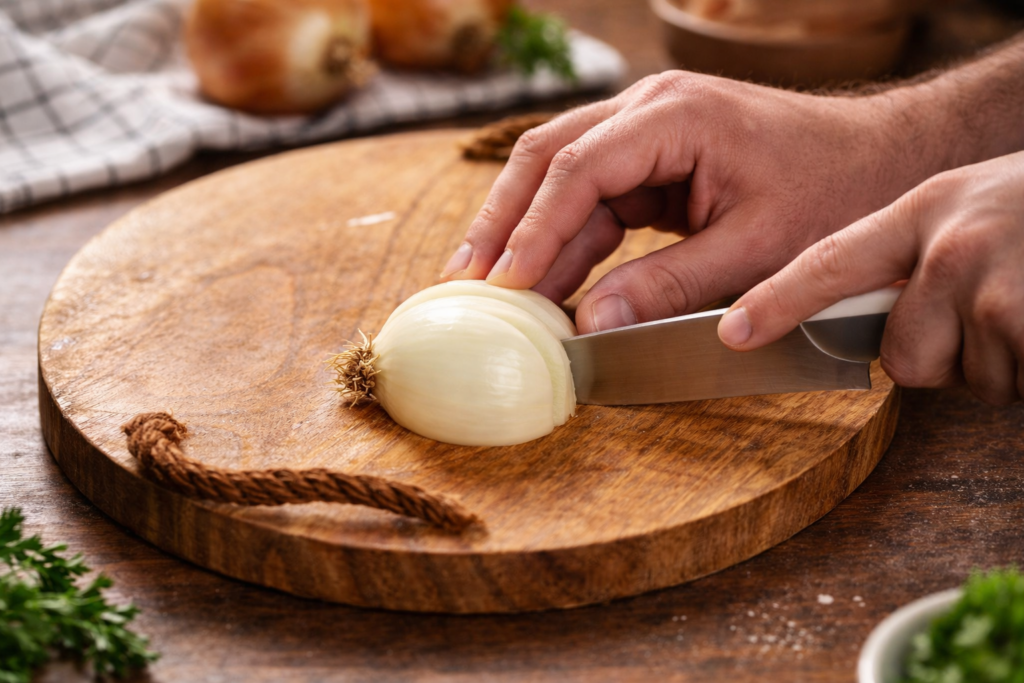
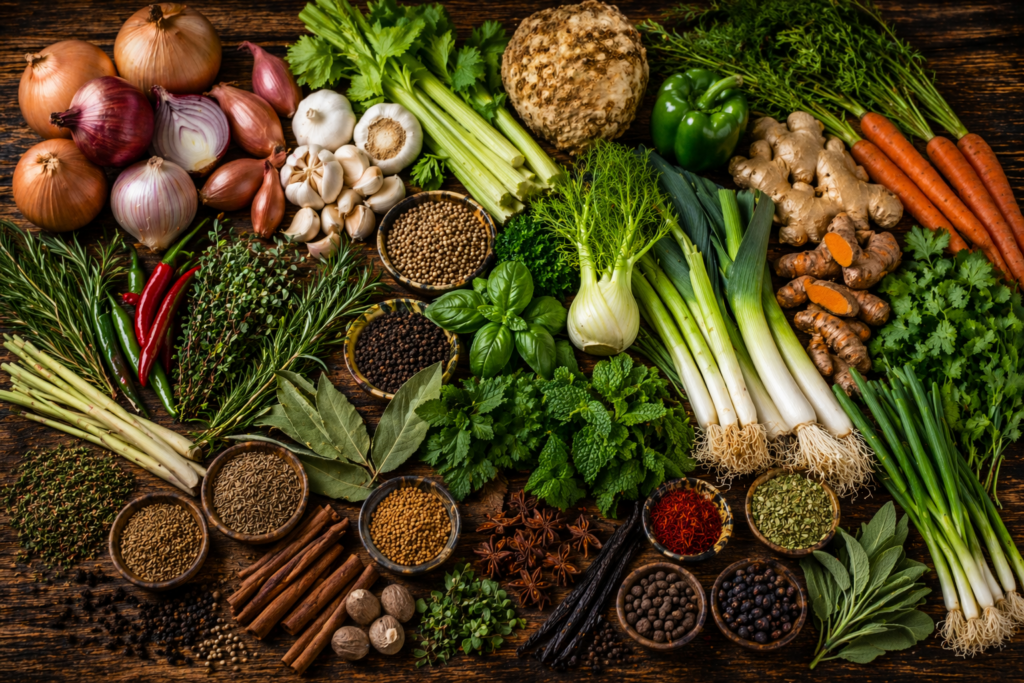
Every cuisine begins in a similar place, even if it doesn’t immediately appear that way on the plate. Before proteins are seared, before liquids are added, and before seasoning is adjusted, there is almost always a foundational step where a combination of vegetables, herbs, and fat is brought together and gently cooked. This process is not meant to finish a dish, but to prepare it—to establish a base that everything else will build from. That base is what we refer to as an aromatic blend.

While the ingredients themselves vary across regions and traditions, the intent remains consistent. Whether the base leans on onion, garlic, carrot, celery, peppers, or a mix of herbs and spices, it serves the same purpose: to create depth early in the cooking process. Rather than relying on complexity added later, the dish develops from within, shaped by the transformation that happens in those first few minutes over heat.

What Happens in the Pan

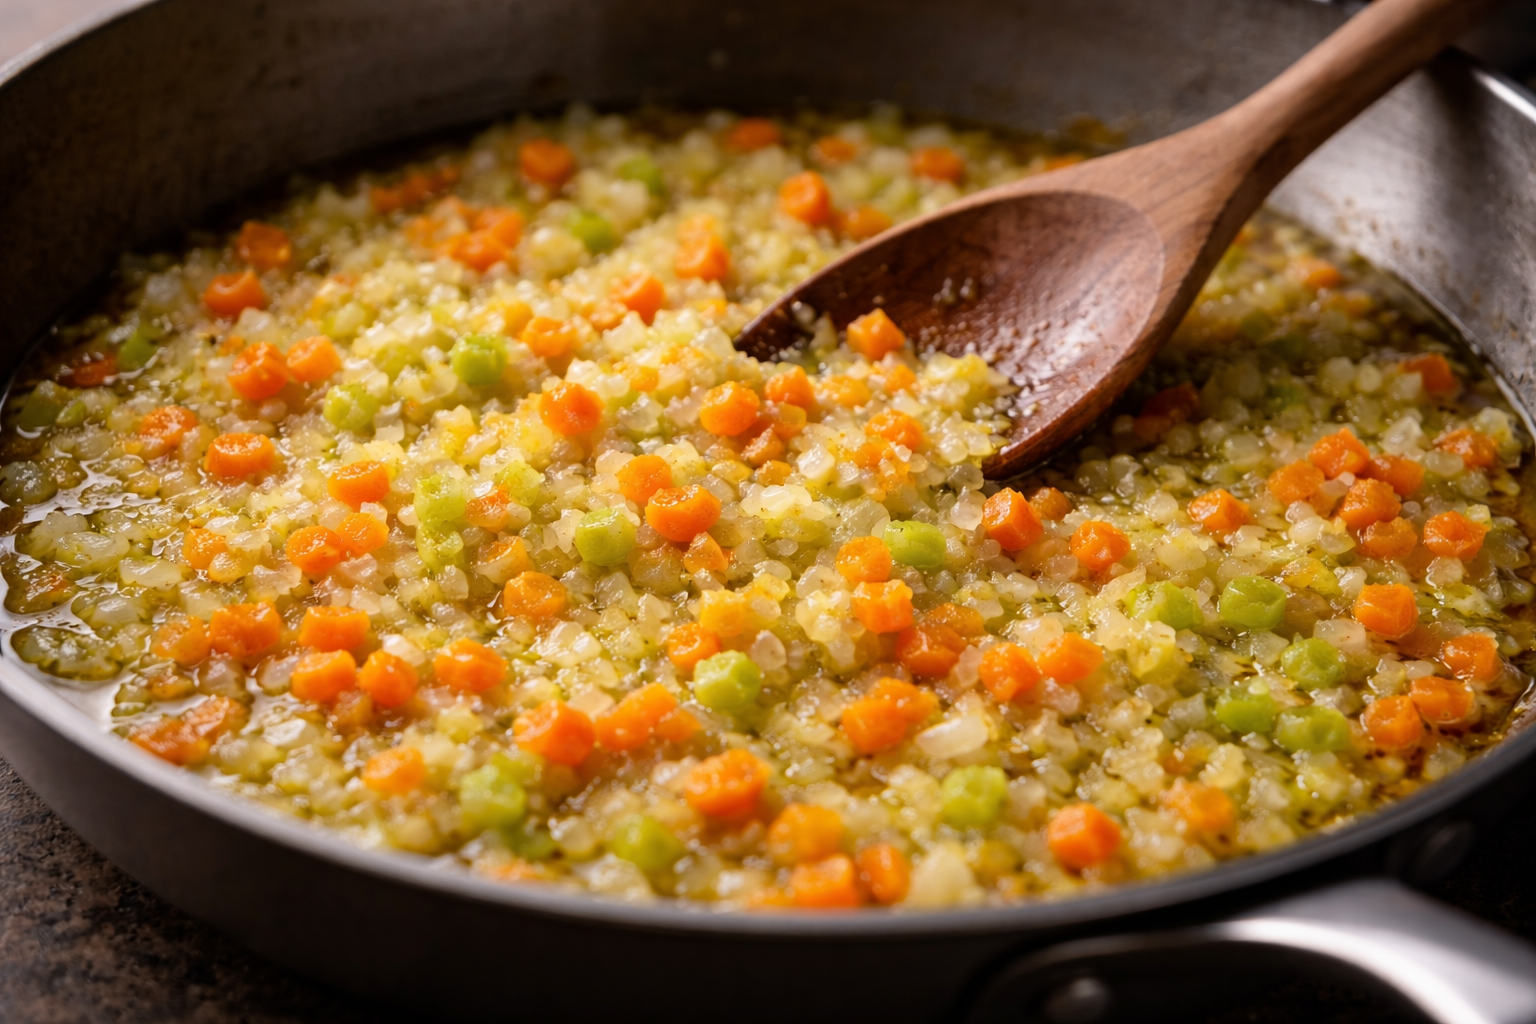
When raw aromatics are introduced to heat and fat, the change is gradual but significant. The initial sharpness of onion or garlic begins to soften as moisture is released and cooked off. As that moisture evaporates, natural sugars concentrate, allowing the ingredients to take on a subtle sweetness that wasn’t present in their raw state. At the same time, the fat in the pan absorbs and distributes these developing flavors, creating a medium that carries them forward into the rest of the dish.

This stage is less about visual cues and more about sensory awareness. The sound shifts as the water content decreases, the aroma becomes more rounded and less aggressive, and the texture transitions from firm to tender. What begins as a collection of distinct components gradually becomes something cohesive, no longer functioning as separate ingredients but as a unified base that can support additional layers of flavor.

Why It Matters

Aromatic blends influence how a dish develops from start to finish, often in ways that are not immediately obvious but are clearly felt in the final result. When this step is handled with care, the flavors of the dish tend to integrate more naturally. Liquids added later carry more depth because they are built on an already developed base, and proteins introduced to the pan absorb and reflect those underlying flavors rather than sitting apart from them.

When the process is rushed or overlooked, the absence becomes apparent in a different way. The ingredients may still be properly cooked, and the seasoning may be technically correct, but the dish can feel disjointed. Flavors remain isolated rather than connected, and the overall result lacks the sense of cohesion that defines a well-built dish. This is not a matter of adding more ingredients or adjusting seasoning at the end; it is a matter of how the dish was constructed from the beginning.

A Shared Structure Across Cuisines

Although aromatic blends are often associated with specific culinary traditions, their underlying structure is remarkably consistent across cultures. Different cuisines arrive at their own combinations based on available ingredients, regional preferences, and historical context, but they all follow the same foundational approach: something is cooked down first, allowed to transform, and then used as the base for everything that follows.

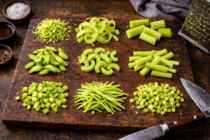
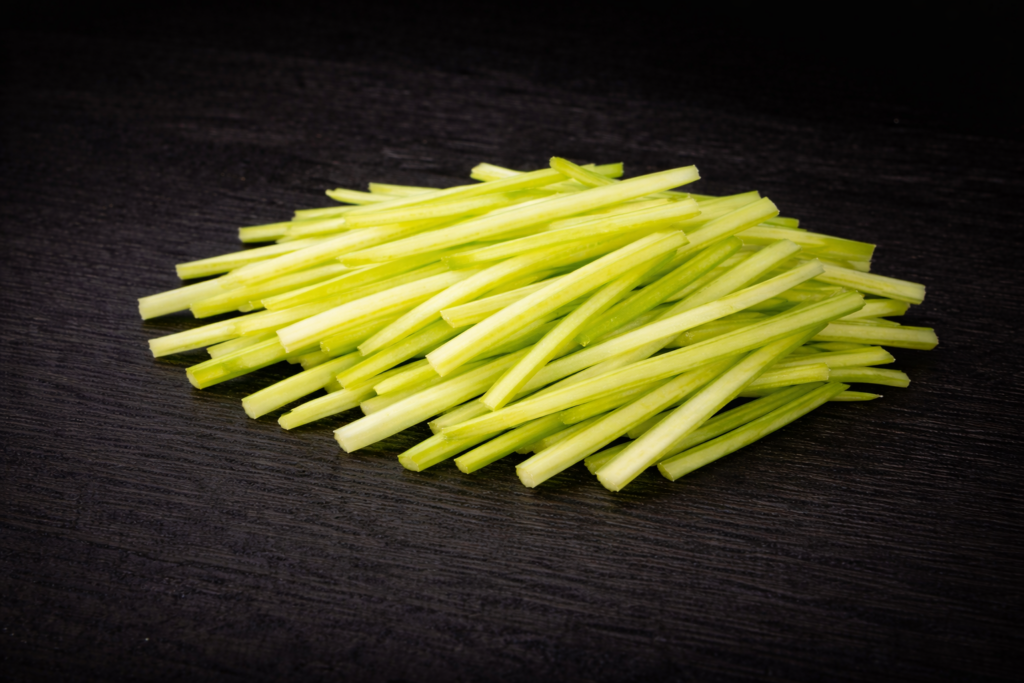
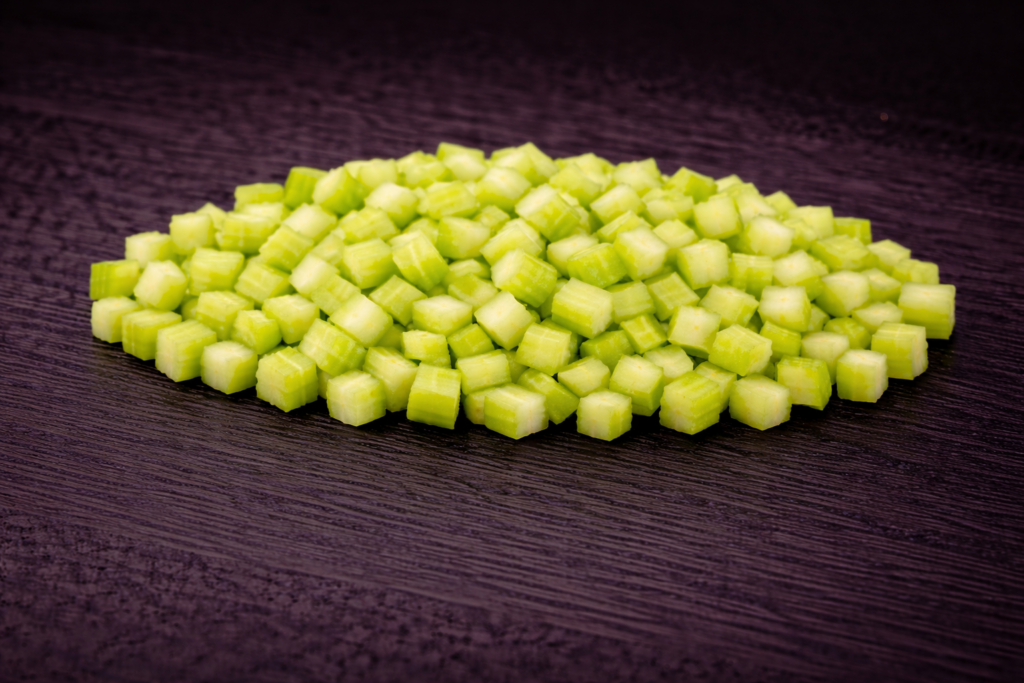
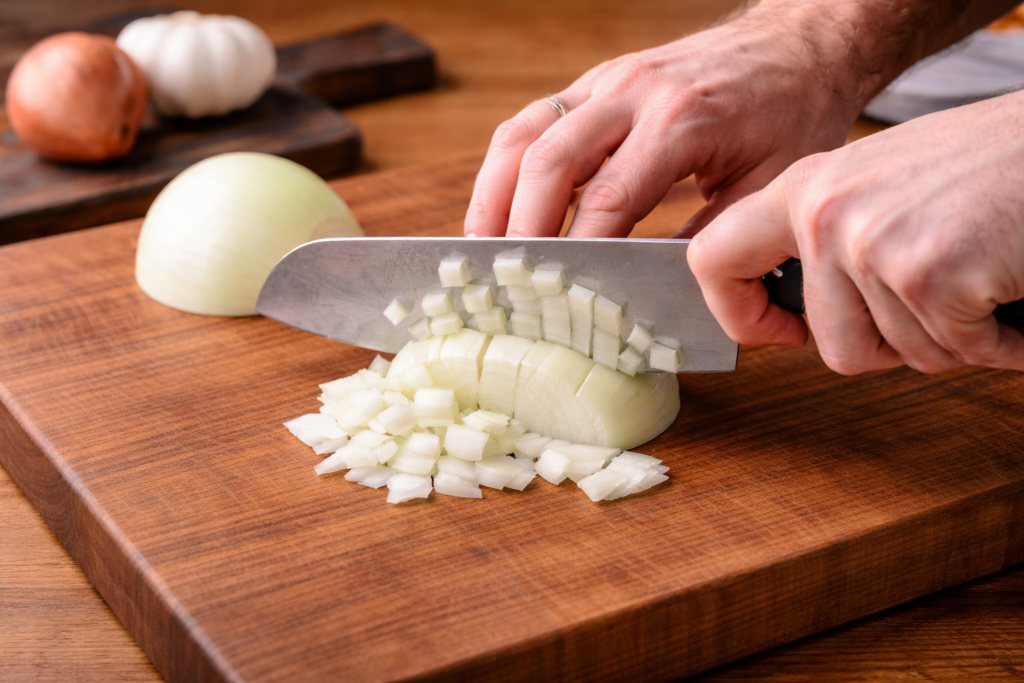
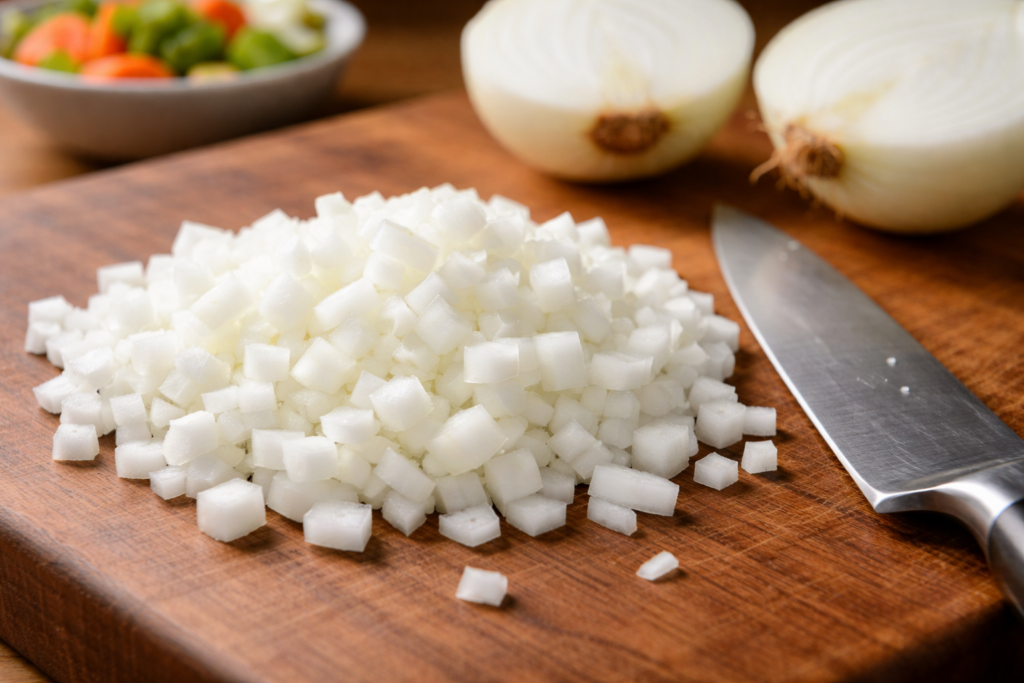
In some traditions, this process is subtle and restrained, with the aromatics cooked gently to preserve their softness and sweetness. In others, it is more assertive, allowing for deeper browning and a more pronounced flavor profile. There are also variations in texture, ranging from finely minced blends that nearly dissolve into the dish to larger cuts that maintain more of their structure. Despite these differences, the purpose remains unchanged. Each variation reflects a different expression of the same core idea: that flavor is built, not simply added.

Working With Aromatics

Approaching aromatic blends effectively requires attention to a few key elements, all of which influence how the ingredients behave in the pan. Heat should be controlled rather than aggressive, allowing the vegetables to soften and release moisture before any attempt is made to develop color. Fat plays an essential role, both in preventing scorching and in carrying flavor throughout the dish. Early seasoning, particularly with salt, helps draw out moisture and encourages even cooking.

Time is the factor that ties all of this together. Allowing the aromatics to move through their stages—from raw and sharp to softened and fragrant, and eventually to lightly developed or browned—gives you control over the final character of the dish. A gentler approach produces a softer, more integrated base, while a longer cook with slightly higher heat introduces deeper, more complex notes. The key is not in choosing one method over another, but in understanding how each approach shapes the result.

Where Everything Builds From

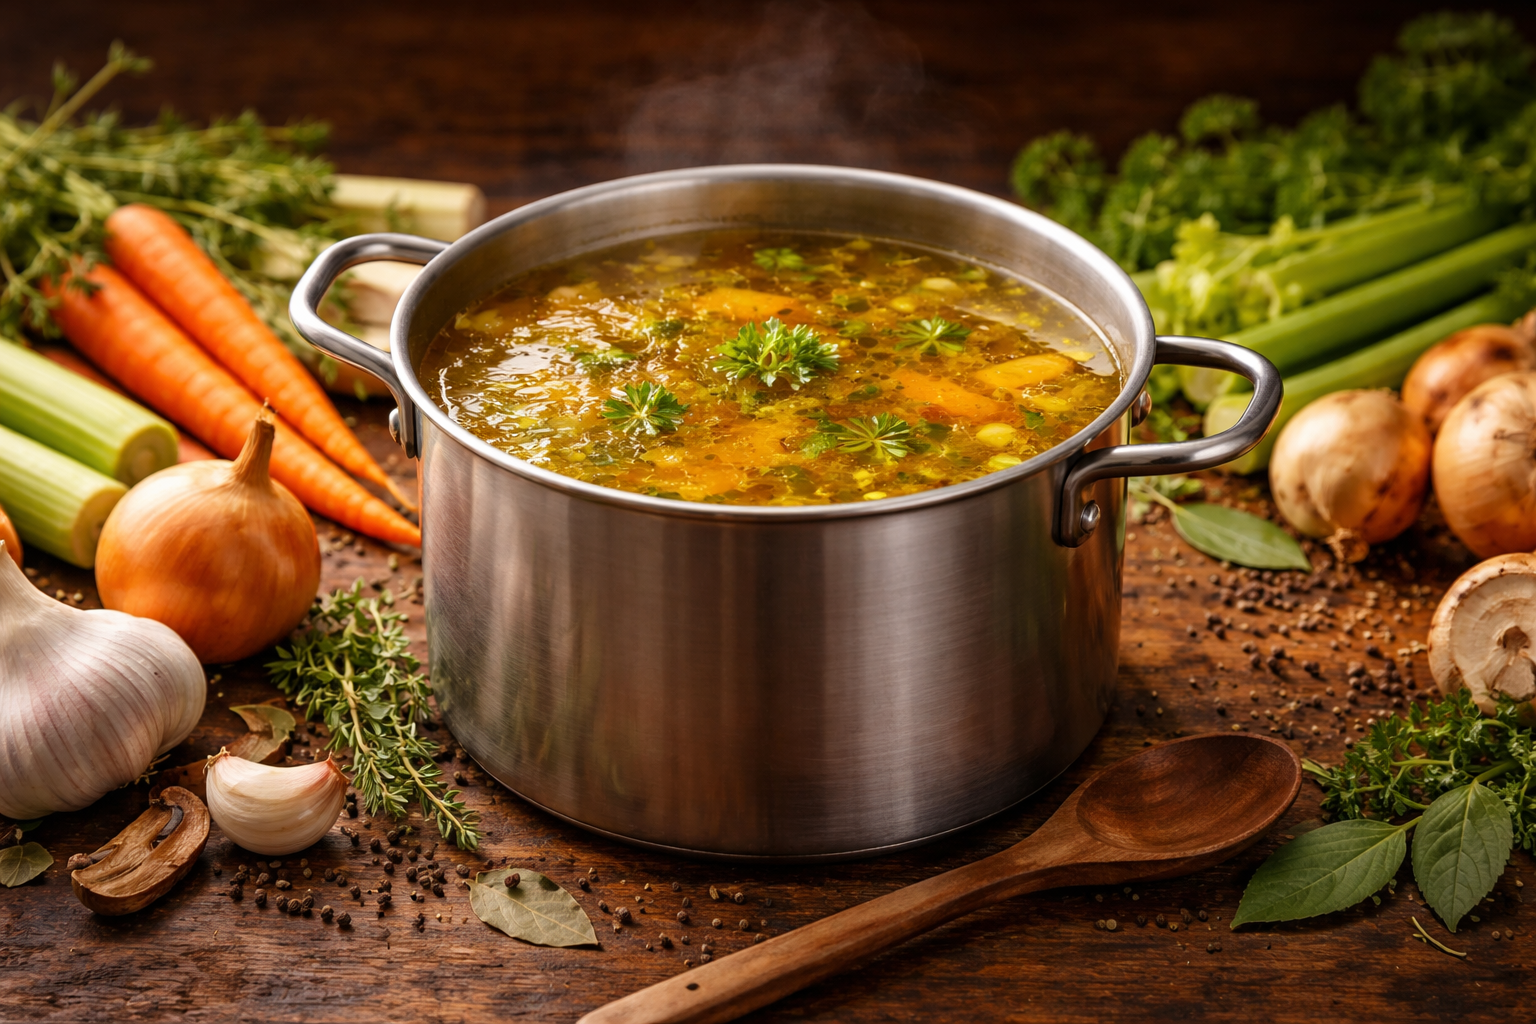
Once the aromatic base is established, the rest of the cooking process becomes more cohesive. Deglazing the pan pulls up not just browned bits, but concentrated flavor that has already been developed through the aromatics. Stocks and sauces gain additional depth because they are built on something that has already undergone transformation. Proteins and other primary ingredients are introduced into an environment that supports and enhances them, rather than one that requires them to carry the dish on their own.

This foundation allows each subsequent step to build with greater intention. Instead of layering flavors in isolation, the dish develops as a continuous progression, with each addition interacting with what has already been established. The result is not simply more flavorful, but more unified, with each component contributing to a cohesive whole.

A Starting Point, Not a Formula

Aromatic blends are best understood as a framework rather than a fixed set of rules. While specific combinations are tied to particular cuisines, the broader concept is flexible and adaptable. Ingredients can be adjusted based on what is available or what the dish calls for, and proportions can shift to emphasize certain characteristics over others.

Understanding this flexibility allows you to move beyond simply replicating established blends and begin using them more intentionally. Rather than following a prescribed combination, you can think in terms of balance, structure, and outcome, shaping the aromatic base to suit the direction of the dish. This approach not only deepens your understanding of individual cuisines, but also gives you the tools to adapt and create with greater confidence.

Explore the Blends

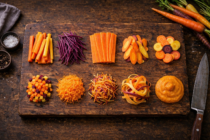
Each aromatic blend reflects the ingredients, techniques, and preferences of the cuisine it comes from, offering a more specific look at how this foundational step is applied in practice. Exploring these individual blends provides insight into how different regions approach the same underlying concept, and how those choices influence the final dish.

By looking at them side by side, the shared structure becomes clearer, as does the range of expression that exists within it. What changes from one blend to another is not the purpose, but the way that purpose is carried out.

Root Awakening

Carrots don’t just add sweetness—they wake a dish up. Not sharply, but gradually, building body, rounding edges, and bringing everything into balance as they cook.

Root Awakening

Ten Essential Carrot Preparations

Carrots don’t just add color or sweetness—they shape how a dish builds, often acting as the element that quietly wakes it up. There’s a subtle lift they bring—natural sugars, a bit of earth, and a soft aromatic backbone—that rounds out sharper edges and pulls other ingredients into focus. It’s not something you always notice immediately, but you feel it when it’s missing.

The way you cut them determines how they cook, how they carry flavor, and whether they stand out or settle in. Some cuts create structure, holding their shape and giving the dish definition, while others soften, blend, or disappear entirely, becoming part of the foundation rather than something you can point to. Before getting into the cuts themselves, it helps to understand what you’re actually working with.

The Shape of Things

Carrots are naturally tapered, denser at the top and thinner toward the tip, and that inconsistency matters more than it seems at first glance. The thicker end holds more mass and takes longer to soften, while the narrow tip cooks quickly and can tip into overdone before the rest catches up. If you cut straight through without accounting for that shift in size, you end up with pieces moving at different speeds—some just right, others already fading.

Taking a moment to break the carrot down into more uniform sections before moving into your final cut evens that out. It gives you control over how the carrot cooks instead of leaving it to chance, allowing heat to move through each piece at roughly the same rate. It’s a small adjustment, but it changes the outcome in a very real way—the difference between a dish that feels cohesive and one where you’re constantly chasing doneness across the pan.

Start with Thoroughly Washed Carrots

Carrots grow underground, and even when they look clean, there’s often a fine layer of grit still clinging to the surface, especially around the stem end and in any natural creases. A vinegar soak for 2-3 minutes, followed by a thorough scrub with a vegetable brush goes a long way in removing that residual earth, which can otherwise dull the flavor and texture of the final dish. Peeling is optional and depends on the application—leaving the skin on can add a bit of character and depth, while peeling creates a more refined finish—but either way, cleanliness matters more than appearance.

Once the carrots are properly prepped, you’re working with a clean foundation, and that’s where the real decision begins. The way you cut them will shape how they cook, how they carry flavor, and how they move within the dish—whether they hold their structure, soften into the background, or transform into something else entirely. It’s a simple step, but it sets the direction for everything that follows.

Planks

Long, flat slices cut lengthwise create planks that expose more surface area to heat, which encourages deeper browning while allowing the interior to stay tender. When sliced on the thinner side, they cook quickly and evenly, taking on color without breaking down or losing their structure. This balance makes them especially useful when you want the carrot to feel substantial but still refined on the plate.

For consistency, this is one of the few cuts where a mandoline earns its place. A sharp blade set to an even thickness gives you uniform planks that cook at the same rate, so you’re not juggling pieces that are browned in spots and underdone in others. It also allows you to go thinner than most knife work comfortably allows, which can shift the result from hearty to delicate without sacrificing control.

You’ll often see planks used in roasted vegetable spreads, warm composed salads, and grain bowls, where their shape allows them to layer naturally with other ingredients. They also work well in sautéed vegetable medleys or as a base for plating proteins, since the flat surface develops caramelization while still presenting cleanly.

Batons

Uniform sticks, typically about 2–3 inches long and ¼–½ inch thick, create a clean, consistent cut that cooks at an even pace from end to end. That uniformity isn’t just visual—it ensures each piece responds to heat the same way, so you’re not dealing with a mix of overcooked edges and underdone centers. As they cook, the exterior develops color and light caramelization while the interior stays firm but tender, giving you a balanced texture throughout.

This makes them especially well-suited for roasting or glazing, where control and consistency matter and where the carrot is meant to hold its own on the plate. You’ll see this cut used in composed vegetable sides, sheet-pan roasts, and classic preparations like honey-glazed or butter-glazed carrots, as well as alongside roasted meats where structure and presentation matter. They absorb flavor without collapsing, maintain their shape through longer cooking times, and present cleanly, making them one of the most reliable and structured ways to work with carrots.

Julienne

Thin matchstick cuts create a light, precise form that cooks quickly and evenly, allowing the carrot to soften without losing all of its texture. Because of their size and shape, they move easily in the pan, taking on heat and seasoning rapidly while maintaining just enough structure to stay present. They add texture without weight, making them ideal when you want the carrot to contribute without dominating.

This cut is especially well-suited for quick sautés, stir-fries, and slaws, where speed and balance matter, as well as for layered dishes like rice bowls, noodle dishes, and fresh salads. You’ll also see julienned carrots used as a finishing element—tossed into herb mixes, folded into spring rolls, or scattered over composed plates—where their shape brings both texture and visual lift.

Bias Cut

Slicing carrots on a bias—at a slight angle—creates elongated, oval pieces that increase surface area while keeping the cut substantial enough to hold its shape. That added surface allows heat to move more efficiently across each piece, promoting even cooking and better browning, while the tapered edges soften at a slightly different rate than the center, adding a subtle variation in texture. The result is a cut that feels both dynamic and controlled. Beyond how it cooks, the bias cut brings a natural sense of movement to the plate. The angled faces catch light differently, and the irregularity reads as more intentional and less rigid than straight cuts, which makes it especially useful when presentation matters.

This prep is commonly used in stir-fries, sautéed vegetable medleys, and noodle dishes, where quick, even cooking is key and where the pieces need to move easily through the pan. It also works well in braised dishes and soups, where the increased surface area helps the carrots absorb surrounding flavors, as well as in composed sides where a bit of visual variation elevates an otherwise simple preparation.

Coins

Straight crosswise slices create coins—clean, familiar, and deceptively versatile. Because the cut runs perpendicular to the carrot’s length, each piece cooks evenly from edge to center, giving you a consistent texture throughout. Their role is largely defined by thickness: thinner coins soften quickly and blend more easily into a dish, while thicker slices hold their shape and retain a bit of bite, offering more presence on the plate.

This range makes them useful across a wide spectrum of preparations. Thin coins are ideal for soups, broths, and quick sautés, where they soften into the base and carry flavor without drawing too much attention. Thicker coins work well in roasted vegetable dishes, glazed sides, and braises, where they can develop color while maintaining structure. You’ll also see them in stews, pot roasts, and simple vegetable medleys, where their straightforward shape allows them to cook evenly alongside other ingredients without requiring much adjustment.

Diced

Small, uniform cubes create a cut that’s built for consistency and integration. Because each piece is nearly identical in size, they cook at the same rate, allowing the carrot to soften evenly without any one piece standing out. The result is a texture that blends seamlessly into a dish, offering subtle sweetness and structure without pulling focus.

This makes diced carrots especially well-suited for soups, sauces, and fillings, where they’re meant to support rather than lead. You’ll find them in classic mirepoix, folded into stews and braises, worked into ragùs and meat sauces, or mixed into stuffings and savory pies. In these applications, the goal isn’t to showcase the carrot on its own, but to let it round out the dish—adding depth, body, and balance in a way that feels cohesive rather than distinct.

Grated

Grated carrots create a fine, soft texture that breaks down quickly under heat or agitation, allowing them to blend seamlessly into whatever they’re added to. This prep can be achieved with the fine or medium grate sides of a box grater (depending on the recipe). Because the pieces are so small, they release moisture and natural sugars almost immediately, subtly sweetening and softening the overall dish without adding noticeable structure. Rather than standing out, they dissolve into the background, shaping flavor and texture in a more understated way.

This makes them especially useful in baked goods like carrot cake, muffins, and quick breads, where they add moisture and tenderness without leaving distinct pieces behind. They also work well in sauces, dressings, and spreads—stirred into tomato sauces, folded into slaws, or mixed into dips—where they contribute body and a gentle sweetness. In some cases, they’re even used as a hidden ingredient in savory dishes, melting into the base to round out sharper or more acidic elements without announcing themselves.

Shredded

Shredded carrots are produced on the coarse grate (larger holes) side of a box grater, creating longer, thicker strands with more texture and presence than a fine grate. That added size gives them structure—they soften slightly as they’re dressed or cooked, but retain enough integrity to stay distinct. They absorb flavor well while still offering a gentle bite, striking a balance between tenderness and texture.

This makes shredded carrots a natural fit for slaws, fresh salads, and quick pickles, where their strands catch and hold onto dressings. They’re also commonly used in sandwiches, wraps, and grain bowls, adding brightness and a bit of crunch, and can be folded into stir-fries or quick sautés where they soften just enough without disappearing. In these applications, they bring both texture and lift, contributing to the dish without taking it over.

Ribbons

Wide, thin strips made with a vegetable peeler create ribbons that are flexible, delicate, and visually expressive. Because they’re sliced so thin, they don’t require much cooking—if any—and respond quickly to dressings, heat, or acid. Their texture is soft with just a slight bite, allowing them to drape and fold naturally, which brings a more refined, fluid quality to the dish.

Ribbons are most often used raw or lightly dressed, making them a strong choice for fresh salads, composed vegetable plates, and light starters where presentation matters as much as flavor. They also work well layered into grain bowls, wrapped into spring rolls, or tossed gently with warm ingredients where residual heat softens them just enough. In these applications, ribbons are less about structure and more about movement, adding a subtle texture and an elevated visual element without weighing the dish down.

Purée

Cooked and blended in a food processor until smooth, carrot purée transforms the ingredient from something you can see into something that defines the dish. As the fibers break down, the natural sugars concentrate and the texture becomes soft, cohesive, and almost silky. What you’re left with is a base that carries both flavor and body, rather than a component that sits alongside everything else.

This makes purée especially well-suited for soups, where it can form the foundation or add depth to a blended base, as well as for sauces and plated elements where a smooth, controlled texture is key. It’s often used as a bed for roasted meats or vegetables, spread across the plate to anchor a composition, or incorporated into dishes where a touch of sweetness and richness helps round out sharper or more savory elements. In these applications, the carrot isn’t just present—it’s doing the work of holding everything together.

Final Thoughts

Carrots are simple, but they respond to how you handle them in ways that are easy to overlook. A small shift in preparation can change not just their texture, but how they take on heat, how they release their natural sugars, and how they settle into the overall structure of a dish. What seems like a straightforward ingredient starts to behave very differently depending on the choices you make at the board.

Each preparation changes how they cook, how they taste, and how they interact with everything around them. Some preparations allow them to hold their own, adding structure and presence, while others let them soften, blend, or carry flavor more quietly. Once you start choosing the preparation with intention, you move past simply adding carrots out of habit and begin using them with purpose—shaping not just the ingredient, but the direction and balance of the dish itself.

Nine Notable Cuts

Knife work defines how celery shows up in a dish. Each cut—whether sliced, diced, shaved, or left larger—changes its texture, how it cooks, and how present it feels on the plate. Some cuts allow it to blend in and support, while others keep it crisp and intentional. Understanding these variations gives you control over how celery behaves, turning it from a background ingredient into something precise and deliberate.

Nine Notable Cuts

The Shape of Things

Celery holds its structure as it cooks, which makes the cut more than just a prep step—it’s a decision about how the ingredient will behave. Size and shape determine how much bite it keeps, how quickly it softens, and whether it sits in the background or stays clearly present in the dish.

Think of these cuts as a progression rather than a set of separate techniques. You’re starting with a whole stalk and choosing how far to break it down. Each step shifts celery’s role—from something structured and distinct to something more integrated and subtle—giving you control over both texture and how it carries through the final dish.

Start with Clean, Trimmed Stalks

Before anything else, wash the celery thoroughly. It grows low to the ground, and grit has a way of working its way deep into the base and between the ribs. Rinse under cold running water, taking the time to separate the stalks and run water through each one. If you skip this step—or rush it—you’re not just affecting the final dish, you’re carrying that grit into anything the celery touches, including your scrap bin.

Trim off the root end and the tops, but don’t discard them. The base, leaves, and any excess trimmings are ideal for vegetable broth or stock. Because those scraps are often saved and built up over time, washing matters just as much here as it does for what you’re cooking in the moment. Clean scraps make clean stock. Keep a container in the freezer and add to it as you go, knowing everything going in is already properly rinsed. From here, you’re working with clean stalks and usable trimmings—nothing wasted, nothing carried forward that shouldn’t be.

Grated

Run the full stalk across a grater, pressing the cut face of the rib (the half-moon side) against the surface—not the length of the stalk. Working from that short side breaks the celery down into fine, compact shreds rather than long strands, giving you a tighter, more consistent texture. At that point, celery loses most of its structure. Instead of distinct pieces, you’re left with a light, moist grate that disperses easily and releases its flavor quickly. It doesn’t read as “celery” in a structural sense—it becomes part of the background.

This is useful when you want the flavor and freshness without the bite. Grated celery works well in dressings, relishes, slaws, and finely textured salads, or anywhere you’re building layers without introducing noticeable pieces. It can also be folded into sauces or spreads where you want subtle lift and moisture rather than structure.

Ribbons / Curls

Run a vegetable peeler along the length of the stalk, shaving it into long, thin ribbons. Working lengthwise keeps the fibers intact, giving you flexible strips that curl naturally and hold a bit of shape. This cut keeps more structure than grating but feels lighter than sliced pieces. The ribbons bend and layer rather than sit rigidly, adding texture without weight. They stay crisp, but in a more delicate, almost airy way. Ribbons work well in salads, garnishes, and lighter preparations where you want celery to feel fresh and present without dominating the bite. They also take on dressings easily, coating evenly without pooling. If you want shorter ribbons, cut the stalks in half before peeling.

Thirds (3–4" Sections)

This is the form you’ll reach for when celery is meant to hold its shape and act as a vessel or a base. Classic examples lean into that structure—crudité platters, stuffed applications, or something like Ants on a Log, where the celery isn’t just part of the dish, it is the platform. The length gives you something to build on, while the natural curve of the stalk creates space for fillings or spreads.

Start by cutting the stalk into 3–4 inch segments. This is the foundation for everything that follows. On its own, this cut keeps celery fully intact—long, structured, and clearly present. It’s less about breaking the ingredient down and more about preserving it. It’s also useful in braises or longer cooks where you want larger pieces that can be removed later or left intact for texture. At this stage, you’re not shaping celery—you’re deciding to keep it whole and let everything else build around it.

Bias Cut

Starting from the thirds, hold the pieces steady and angle your knife as you slice across them, creating elongated, diagonal pieces. This increases the surface area of each cut without reducing thickness, giving you more contact with heat while still keeping a bit of structure. The result feels more intentional than a straight slice. You get cleaner lines, more visual movement, and a shape that softens at the edges while still holding in the center. It cooks evenly, with just enough bite left to keep it from disappearing. Bias cuts work well in stir-fries, sautés, and more composed dishes where shape and texture both matter.

Half-Moons (Standard Slice)

This is the standard cut of celery—and the one you’ll use most often. At this point, you’re no longer working with length, but with thickness. Thinner slices soften quickly and fold into the dish, while thicker ones keep a bit of structure and stay more noticeable.

Like the Bias Cut, this cut also starts from the Thirds; instead,  slice the thirds straight across into ⅛”–¼” pieces, letting the natural curve of the celery form those familiar half-moons. Lining the pieces up before cutting keeps the slices consistent and speeds up the process, especially when working through multiple stalks. Because everything is uniform, the pieces cook evenly and distribute without effort. It’s a straightforward cut that doesn’t ask much from you but gives you a lot of flexibility in return—equally at home in soups, sautés, and just about anything that starts with a pan and builds from there.

Batons

Batons are the next natural step from Thirds lengthwise—those same 3–4 inch sections split into halves along the ribs. You’re working with the structure of the celery, not against it, which keeps the pieces clean and intact. This cut reduces the scale without losing the crisp bite. It stays structured and present, just more controlled, making it easier to work into dishes where full sections would feel too large. Use batons when you want celery to remain defined but refined—clean, uniform, and intentional, whether in crudité, stir-fries, or anywhere texture still matters. If you want a shorter length for your dish, line batons up and cut in half across the width.

Rough Chop

Starting from batons, cut across the width in quick, uneven passes to break them down into smaller pieces. This is a looser, more practical cut—less about precision and more about reducing size. The pieces won’t be uniform, and that’s the point. Some will soften quickly, others will hold a bit longer, creating a mix of textures as they cook.

Use a rough chop when you’re building a base or cooking for time—soups, stews, stocks, and long-simmered dishes where everything eventually comes together. It’s fast, efficient, and does exactly what it needs to without slowing you down.

Julienne

Starting from batons, split them lengthwise again to form thin, matchstick-sized pieces. This continues the same progression—working along the ribs to reduce width while keeping the structure intact. The result is lighter and more refined. Julienned celery moves through a dish rather than sitting on top of it, distributing evenly while still offering a clean, crisp bite. Because the pieces are thinner, they soften more quickly, but they don’t disappear—you still get texture, just on a smaller scale. Use this cut when you want celery to integrate more seamlessly without losing its presence—slaws, quick sautés, stir-fries, or as a finishing element where structure matters, but subtlety matters more. If you want a shorter length for your dish, line matchsticks up and cut in half across the width.

Diced

Starting from julienne, cut across the matchsticks to create small, uniform pieces. This is the next step in the progression—taking those fine strips and turning them into consistent, evenly sized cuts. Diced celery distributes cleanly and cooks evenly, giving you a balanced texture throughout the dish. The smaller size softens more quickly, allowing the flavor to integrate without standing out as a distinct element.

Use this cut when you want celery to be present but not prominent—sauces, fillings, and composed dishes where consistency matters and everything should come together as one.

Building the Perfect Vegetable Broth

Vegetable broth isn’t about throwing everything into a pot and hoping for the best—it’s about understanding how vegetables behave over time, heat, and extraction. Some build clean, layered flavor. Others muddy it, overpower it, or break it entirely.

Building the Perfect Vegetable Broth

The Foundation: What Always Works

At the core of a well-balanced vegetable broth is a familiar structure—aromatics that build sweetness, depth, and body without overwhelming the final result. Onions, carrots, and celery form the backbone for a reason. They create balance: sweetness, earthiness, and a subtle bitterness that keeps everything in check. Leeks, shallots, and garlic expand on that foundation, adding softer, more nuanced allium notes.

From there, mushrooms introduce umami and body, while tomatoes (used with restraint) can add brightness and depth. These are your anchors—the ingredients that define the broth without competing for attention.

The Supporting Cast: Use with Intention

Some vegetables work—but only when used in moderation. Leafy greens, herbs, and softer vegetables should be treated as accents, not structure. Spinach, parsley stems, zucchini, green beans—these can round out the broth, adding subtle vegetal notes and a bit of freshness, but they lack the backbone needed to carry a stock on their own. Left unchecked, they begin to collapse into the background, creating a flavor that feels less defined—more “green” than structured.

Bell peppers are a perfect example of this balance. In small amounts, they contribute a gentle sweetness and a hint of brightness. But their flavor is distinct and persistent, and once it takes hold, it doesn’t let go. The result is a broth that tastes less like a foundation and more like a finished dish—something that limits its versatility rather than enhancing it.

Herbs follow the same logic. Parsley stems, thyme, and even softer herb scraps can bring lift and aromatic clarity, especially when added toward the end of cooking. But they’re not meant to steep indefinitely. Given too much time or quantity, they shift from enhancing to defining, and once herbs start leading the profile, everything else becomes secondary.

Even vegetables with higher water content—like zucchini or certain squash—can dilute more than they contribute if overused, softening the overall impact of the broth rather than building it. They have a place, but it’s a supporting one. This is where restraint becomes a technique. The goal isn’t to eliminate these ingredients—it’s to understand their role. Used thoughtfully, they add dimension and nuance. Used excessively, they blur the lines you’ve worked to build.

The Problem Vegetables: What to Avoid

Not everything belongs in a stockpot—and most mistakes come from ignoring that. It comes down to behavior in the pot. Some vegetables break down too aggressively, some release off-notes, others overwhelm. A good broth relies on control—steady extraction, clean flavor, and restraint. Then there are ingredients that push too hard. Turnips, strong bitter greens, excessive peppers—these don’t sit in the background, they take over the front. A broth should stay neutral and flexible; once a single ingredient dominates, its usefulness narrows fast.

Cruciferous vegetables—broccoli, cabbage, cauliflower, Brussels sprouts—don’t hold up to a long extraction. Given time and heat, they release sulfur compounds that turn harsh, bitter, and slightly metallic. What works in a quick cook becomes aggressive in a simmer, and once that edge shows up, it only intensifies. Starchy vegetables like potatoes and large amounts of squash create a different problem. They absorb flavor while releasing starch into the liquid, leaving the broth cloudy and dulled. Instead of building structure, they soften it—flattening the profile and muddying the finish.

The Scrap Bag: What Earns Its Place

Scraps are where vegetable broth becomes both practical and personal—but not all scraps are equal. The ones worth saving are the ones that still carry structure and flavor. What you’re collecting isn’t waste—it’s concentration. These are the parts that often hold just as much flavor as what made it onto the plate, sometimes more. Over time, a well-managed scrap bag becomes layered by default, giving you a broader, more developed base without having to reach for fresh ingredients every time.

That said, intention still applies. A scrap bag isn’t a catch-all—it’s a curated extension of your kitchen. The same rules still matter: balance, proportion, and restraint. Too many sweet scraps will flatten the broth. Too many green elements will muddy it. What goes in should still reflect the kind of broth you want to end up with. Onion skins bring color and a subtle depth that reads more complex than their simplicity suggests. Carrot peels and ends reinforce sweetness without overpowering. Celery leaves and root ends maintain that familiar aromatic backbone, while mushroom stems contribute body and umami that help round everything out. Leek tops offer a softer, greener allium note—less sharp than onion, but just as important in building balance.

And above all, it has to be clean. Scraps should come from vegetables that were properly washed before trimming—no dirt, no grit, no exceptions. That isn’t something you can fix later. Whatever goes into the bag is exactly what ends up in the pot, and from there, into everything you build from it. If you don’t want the flavor in your broth, leave it out of the bag.

Ingredient Check

Curious about how an ingredient would impact the flavor profile of a broth? Select from the list below to see my notes on each.

The peels are sweet and mild and are good for broth if used sparingly, but the flesh is too starchy and should be left out. Make sure the squash is throughly scrubbed before peeling. Add any peels to your broth toward the last 15 minutes of the simmer. They are excellent for adding depth, color, and nutrients.

For a typical-use, everyday vegetable broth—no. But if you're planning to use the vegetable broth in a curry, a butternut squash soup, or a high-acid dish like minestrone or chili, the addition of a handful of peels or core (seeds removed) can help balance the acidity of the dish. Remember—intentional ingredients.

Avoid, as it can impart a bitter taste to your broth.

Okay in small quantities, but limit to about ½ cup. Also better to add in the last 15-20 minutes of your simmer.

Okay in small quantities, but it will greatly change the flavor profile of your broth. If you're planning to use the broth in a pasta sauce, then by all means. With any herb however, it is better to let the herb steep in the broth at the end after it is removed from the heat, as it cools before straining.

Definitely! Unlike other herbs, bay leaves can be added to the pot with the water and kept in the simmering liquid the entire time.

Okay in small quantities, but limit to about ¼ cup. Personally, I leave out because it's better to add the fresh bell pepper to your recipes to capture the best notes of its flavor profile.

Foods in the Brassica family will give your broth a bitter taste and should be avoided.

Carrots are one of the foundations of a good vegetable broth—tips, small scraps, peelings. Carrot tops (the leafy part) can be used in small quantities, but I recommend adding them toward the end, as they can break down and leave behind a bitter flavor.

Celery is one of the foundations of a great vegetable broth. A core aromatic that provides structure and balance. Inner leaves can intensify flavor, but outer leaves can make the broth bitter.

Chervil is best added to a dish versus adding it to a broth due to its delicate flavor.

Okay in small quantities, but limit to about ¼ cup. Also better to add at the end.

Cilantro will overpower a broth; it's best added to a final dish to accentuate it versus overtake it in the foundation.

Collards are best left out of a traditional vegetable broth, as their strong, slightly bitter flavor can quickly take over and disrupt the balance. That said, collards have a place of their own—when slow-cooked, the liquid they produce is known as pot liquor (or potlikker), a deeply flavorful broth in its own right. It’s a different application entirely, so while they don’t belong in this kind of stock, they’re worth exploring on their own—see my post on potlikker for how to make it and how to use it.

Corn is a starchy vegetable and doesn't add that much flavor to the broth—only adding cloudiness instead. In fact, the starch can make the broth spoil faster, so unless you are specifically using the broth for a starchy soup (potato soup, corn chowder, or something similar) and using it right away, skip the corn.

Absorbs more flavor than it imparts; okay in small quantities, but I typically avoid.

Okay in small quantities, but limit to about ½ cup. As with any herb, steep in cooling broth at the end.

Okay in small quantities, but limit to about ½ cup.

Yes, you can absolutely add fennel to vegetable broth. It is an excellent aromatic that adds depth and a mild, pleasant, slightly sweet or licorice-like note. You can use the bulb, stalks, and the feathery fronds. It works well in almost any vegetable stock base, but because it has a distinct flavor, you may want to skip or use it in moderation if you prefer a neutral, all-purpose broth.

Excellent for broths — bulbs, cloves, and skins. Even garlic greens can be used, but throw them in at the end.

Okay in small quantities, but limit to about ¼ cup.

Lettuce in general doesn't have much flavor, so it's not going to give the broth any flavor. Avoid.

Okay in small quantities, but limit to about ¼ cup; keep in mind, while they have an earthy, nutty flavor, they are a starchy root and can cloud your broth.

Absorbs more flavor than it imparts; I typically avoid.

Because you don't use much of the leek in recipes, they produce a fair amount of scraps—but those scraps have TONS of great allium flavor. They are a great (and preferred) addition to any broth.

Okay in small quantities, but limit to about ½ cup.

It is in the oregano family, but it has a much milder flavor. Good in very small quantities, but limit to about ¼ cup. Would be a great addition if you're intending to use it in a Middle Eastern dish.

Mushrooms are one of the easiest ways to build depth into a vegetable broth. They bring umami—the kind of savory backbone that gives the broth a richer, more substantial feel without weighing it down. Fresh mushrooms work well, especially the stems, which hold just as much flavor as the caps. Dried varieties like shiitake or porcini take it further, delivering a more concentrated, almost meaty intensity. Used with intention, mushrooms don’t just enhance a broth—they anchor it. They integrate easily—added alongside your base aromatics, they release their flavor steadily over the course of a 30–60 minute simmer. In scrap-based broths, they’re one of the most valuable additions, turning what could be a light, purely vegetal stock into something with real structure and presence.

Okra brings body more than flavor, subtly thickening the broth as it simmers. In small amounts, it can add a slight richness without drawing attention to itself. Used too heavily, though, it shifts the texture and introduces a distinct vegetal note that can take over the profile. It’s especially useful when you want the character of okra without committing to it in the final dish. In something like gumbo, a small amount in the broth can lend that familiar depth and slight viscosity, then be strained out—leaving behind the essence without the texture.

Onions are the backbone of a vegetable broth—the starting point that everything else builds from. As they simmer, they release a balanced sweetness and depth that rounds out sharper or more vegetal notes, giving the broth structure without making it feel heavy. The skins play a role, too. Left on, they contribute a rich golden color and an extra layer of subtle depth without negatively affecting clarity or flavor. It’s a simple, often overlooked addition that enhances both the appearance and presence of the finished broth, making it feel more complete and intentionally built.

Oregano is best left out of a vegetable broth. Its flavor is assertive, slightly bitter, and distinctly Mediterranean, which pulls the broth away from being a neutral, flexible base. Instead of supporting the other aromatics, it tends to sit on top of them, making the broth feel more like a finished dish than a foundation. Even in small amounts, oregano can linger in a way that limits how the broth can be used later. It’s better reserved for the final dish—added with intention, where its character can be controlled and allowed to shine without competing with everything else in the pot.

Parsley is one of the most versatile herbs you can use in a vegetable broth, but it benefits from a lighter touch. It brings a clean, fresh note that lifts the entire pot, rounding out deeper flavors without adding weight. The stems, in particular, carry a lot of that flavor and are well-suited for broth. Rather than letting it ride through a full simmer, it’s better treated as a steeping herb. Add parsley—especially the stems—once the heat is off or during the final stretch of cooking, allowing it to infuse as the broth cools. This preserves its brightness and keeps it from turning dull or overly dominant. Handled this way, parsley enhances the broth without defining it, keeping the overall profile balanced, fresh, and adaptable.

Parsnips bring a deeper, more pronounced sweetness than carrots, with a slightly earthy, almost spiced quality that can add warmth to a vegetable broth. In small amounts, they help round out the base and add subtle complexity, but they need to be used with intention—especially alongside other sweet vegetables like carrots or corn. Too much can push the broth out of balance, leaving it flat rather than structured, so restraint is key to keeping the profile clean and cohesive.

Peas add a soft, natural sweetness and a light vegetal note that can round out a broth, but they’re best used in moderation. Fresh or frozen peas can contribute a subtle brightness, while pea pods are often the better choice for a cleaner, more delicate flavor. Too many peas, though, can push the broth toward a one-note sweetness and dull its overall structure, so they’re best treated as a supporting element rather than a foundation. Best if added in the last half of the simmer so the pods don't break down too quickly and give it a bitter flavor.

Hot peppers of any variety should be avoided in broth and added to the final dish instead, where their heat can be controlled and balanced.

Peppercorns can add a subtle warmth and gentle spice to a vegetable broth—they're included in my broth recipe—but they’re optional. Use them if you want that added depth, or leave them out to keep the broth more neutral and adaptable.

Potatoes are best left out of vegetable broth, as they release starch that clouds the liquid and dulls the overall flavor, but clean peels can be used sparingly to add a subtle earthy note—just a little goes a long way before it starts to weigh the broth down.

Sweet potatoes are best left out of vegetable broth, as their natural sugars can quickly dominate and push the broth toward an overly sweet, unbalanced profile; even small amounts tend to linger, limiting how the broth can be used across different dishes.

Pumpkin is best left out of vegetable broth, as its natural sweetness and soft texture can quickly overwhelm the pot, dulling the structure and limiting the broth’s versatility.

Romaine lettuce is best left out of vegetable broth, as it breaks down quickly and contributes little structure, often leaving behind a flat, slightly bitter note that muddies the final flavor.

Rosemary is best left out of a vegetable broth, as its strong, resinous flavor can quickly dominate and linger, overpowering more subtle aromatics and limiting the broth’s versatility. If you do want to impart a hint of rosemary—say for a broth destined for herb stuffing or whipped potatoes—use it sparingly and steep it at the end as the broth cools, rather than letting it ride through the full simmer.

Sage is best left out of a vegetable broth, as its earthy, slightly bitter flavor can quickly take over and make the broth feel heavy and overly specific. If you want to introduce a hint of sage—especially for dishes where it’s intentional—use it sparingly and steep it at the end as the broth cools, rather than simmering it throughout.

Scallions are a great addition to vegetable broth, offering a lighter, fresher allium flavor than onions. The white parts can go in early with your base aromatics to build gentle depth, while the green tops are better added toward the end or steeped as the broth cools to preserve their brightness.

Shallots are an excellent addition to vegetable broth, bringing a softer, slightly sweeter allium flavor than onions. They build depth without sharpness, integrating smoothly into the base and enhancing the overall balance without overtaking.

Spinach is best left out of vegetable broth, as it breaks down quickly and contributes little structure, often leaving behind a flat, slightly muddy flavor that dulls the overall profile.

Summer squash is best left out of vegetable broth, as its high water content and mild flavor tend to dilute rather than build structure, leaving the broth softer and less defined.

Winter squash is best left out of vegetable broth, as its natural sweetness and starch can quickly take over, leaving the broth heavier, softer in structure, and less versatile across dishes.

Tarragon is best left out of vegetable broth, as its distinct, slightly licorice-like flavor can quickly dominate and limit the broth’s versatility. If you want a hint of its character for a specific dish, use it sparingly and steep it at the end as the broth cools rather than simmering it throughout.

Thyme can work in a vegetable broth, but it should be used with restraint. Its earthy, slightly woody flavor adds depth and structure, but too much or too long of a simmer can make it feel heavy and overly pronounced. For better control, add it in small amounts toward the end or steep it as the broth cools to preserve its balance.

Tomatoes can add a subtle acidity and depth to vegetable broth, helping to round out the overall flavor, but they should be used with intention. In small amounts, they brighten and support the base; too much, and they shift the broth toward a more defined, tomato-forward profile that limits its versatility. For a cleaner result, remove the seeds before adding, as they can introduce bitterness and cloud the broth.

Watercress is best left out of vegetable broth, as its peppery, slightly bitter flavor can quickly take over and disrupt the balance, leaving the broth less neutral and more difficult to work with.

Zucchini is best left out of vegetable broth, as its high water content and mild flavor tend to dilute rather than build structure, leaving the broth softer and less defined.

Conclusion

A good vegetable broth isn’t built on variety—it’s built on restraint. The goal isn’t to load the pot with everything available, but to build something clear, balanced, and intentional. Complexity doesn’t come from quantity; it comes from how well each ingredient is chosen and how it behaves over time. Every ingredient should earn its place. If it doesn’t contribute structure, depth, or clarity, it doesn’t belong in the pot. That mindset shifts broth from something passive into something deliberate—less about using what you have, and more about deciding what actually serves the end result.

It helps to think of vegetable broth less like a fixed recipe and more like a framework you refine over time. You start with a foundation, build with intention, and adjust as needed. That might mean pulling back on certain elements, holding others until later, or leaving something out entirely. Balance is what defines the final result. Too many sweet vegetables and the broth turns flat, almost syrupy in character. Too many greens and it leans muddy, losing definition. Too many strong or assertive elements and the entire profile tips into bitterness or imbalance. None of these happen all at once—they creep in gradually, which is why control matters from the start.

In the end, the difference between a broth that supports a dish and one that competes with it comes down to editing. Not what you add—but what you choose to leave out.

See My Recipe

The Perfect Onion Dice

Dicing an onion is one of the first knife skills most people learn, but it’s also one of the most commonly rushed. The result is often uneven pieces, wasted product, or an unstable onion that makes the process harder than it needs to be.

A proper dice isn’t about speed. It’s about control, consistency, and using the structure of the onion to guide your cuts.

The Perfect Onion Dice

A foundational cut, done properly.

Dicing an onion is one of the first knife skills most people learn, but it’s also one of the most commonly rushed. The result is often uneven pieces, wasted product, or an unstable onion that makes the process harder than it needs to be. A proper dice isn’t about speed. It’s about control, consistency, and using the structure of the onion to guide your cuts.

Step 1: Start Clean

Before making a single cut, remove the papery outer skin of the onion. Once peeled, give the whole onion a quick rinse under cold water to remove any residual skin or debris, then dry it thoroughly with a paper towel. Starting with a clean, dry surface makes the onion easier to handle and keeps your knife from slipping.

After peeling and drying, trim the stem end, then slice the onion in half from root to tip, leaving the root intact. The root holds the layers together and gives you control as you work. If the first outer layer beneath the skin feels dry or tough, it can be removed and discarded, as it doesn’t always soften well when cooked.

Place each half flat-side down on the cutting board to create a stable base.

Step 2: Work with the Grain

An onion is naturally structured in lines that run from root to tip, and those lines are your guide. Make your first series of cuts vertically, following those natural lines. The spacing of these cuts determines the final size of your dice. For a finer dice, keep the cuts closer together; for a larger dice, give them more space.

Next, make one or two horizontal cuts parallel to the cutting board. This step creates the internal structure that allows the onion to fall into evenly sized pieces once you begin slicing downward. Keep your knife level and controlled as you work.

Step 3: Let the Knife Do the Work

With the structure in place, the final cuts are straightforward. Slice downward across the onion, perpendicular to your earlier cuts. As you move from front to back, the onion will separate naturally into a uniform dice. Keep your guiding hand in a claw position, letting your knuckles lead the blade while your fingertips stay tucked safely away. This helps maintain even spacing and gives you better control with each cut. As you approach the root end, you’ll notice the layers begin to hold together more tightly. Rather than forcing the knife through, stop and set that portion aside.

TIP: Instead of worrying about dicing the last inch or so near the root, simply trim it off and save it with your vegetable scraps for broth. Clean onion skins, celery stalks and inner leaves, tomato trimmings, well-washed potato peels (free of dirt and dark spots), parsnip and carrot tops and skins, along with fennel, leek, garlic, and shallot scraps can all be collected and stored in the freezer. Once you have enough, they can be used to make a deeply flavorful vegetable broth—turning what would have been waste into something useful. Check out my post on Building the Perfect Vegetable Broth.

Conclusion.

A proper dice should be uniform. Even pieces cook evenly, distribute flavor more consistently, and improve the overall texture of a dish. Speed will come naturally with repetition, but control is what matters—working steadily and deliberately will always produce better results than rushing.

This same method applies whether you’re building a base for a sauce, layering flavor into a soup, or finishing a dish with a finer garnish. Once the structure is understood, the technique scales easily without changing the fundamentals, making it one of the most useful skills to carry through everything else you cook.