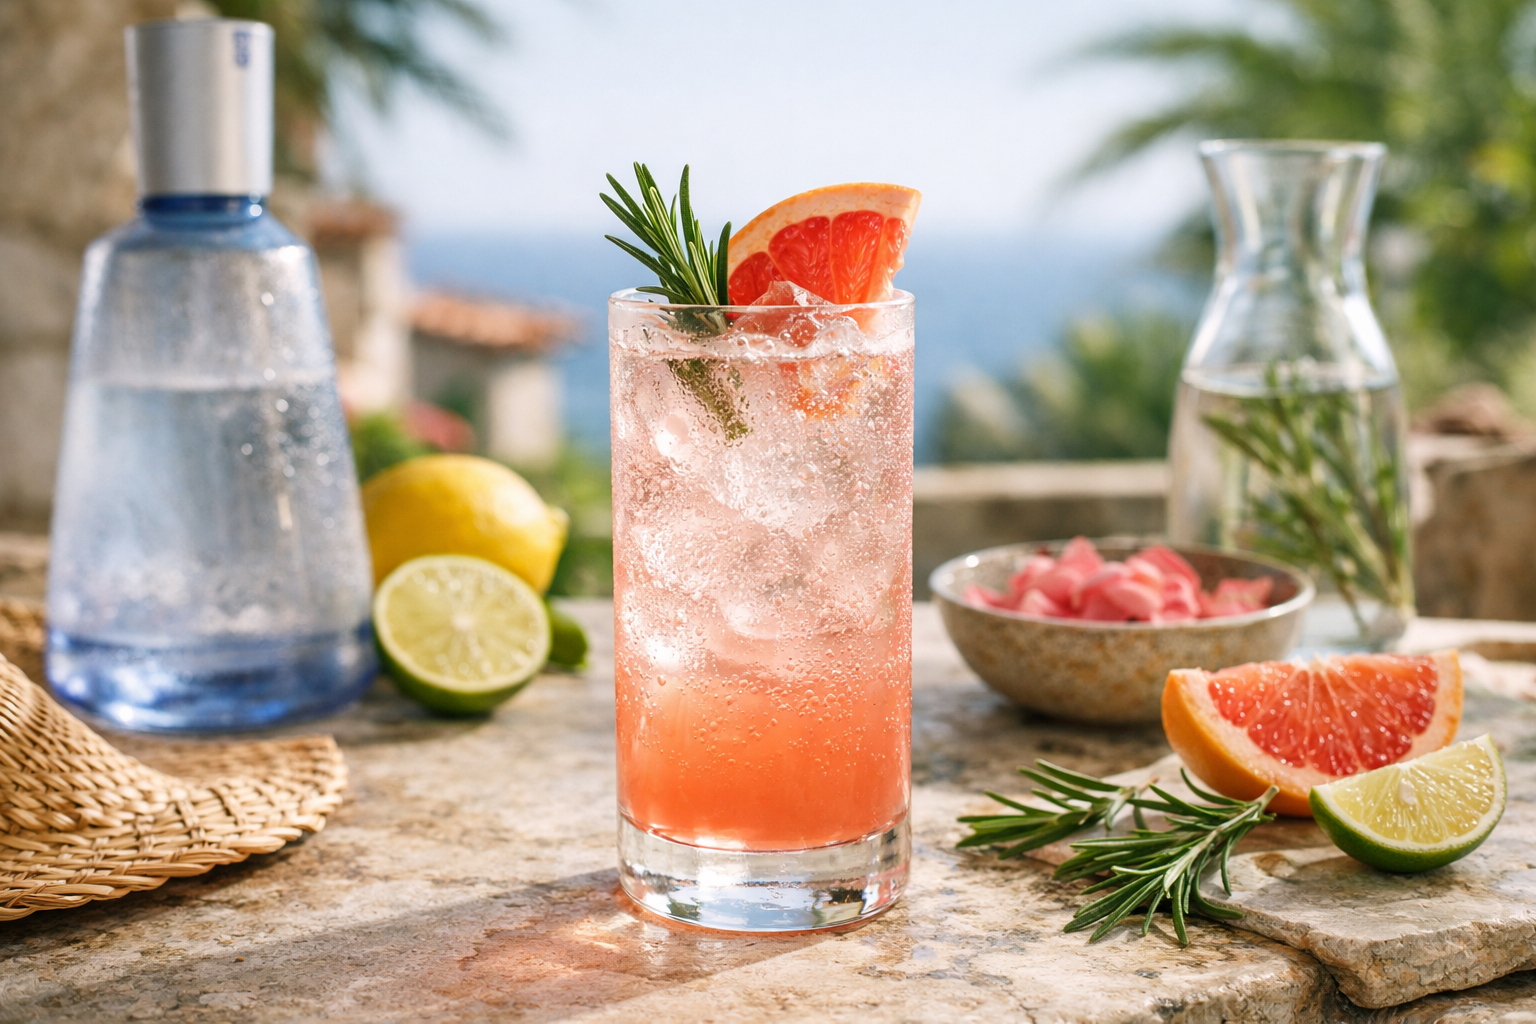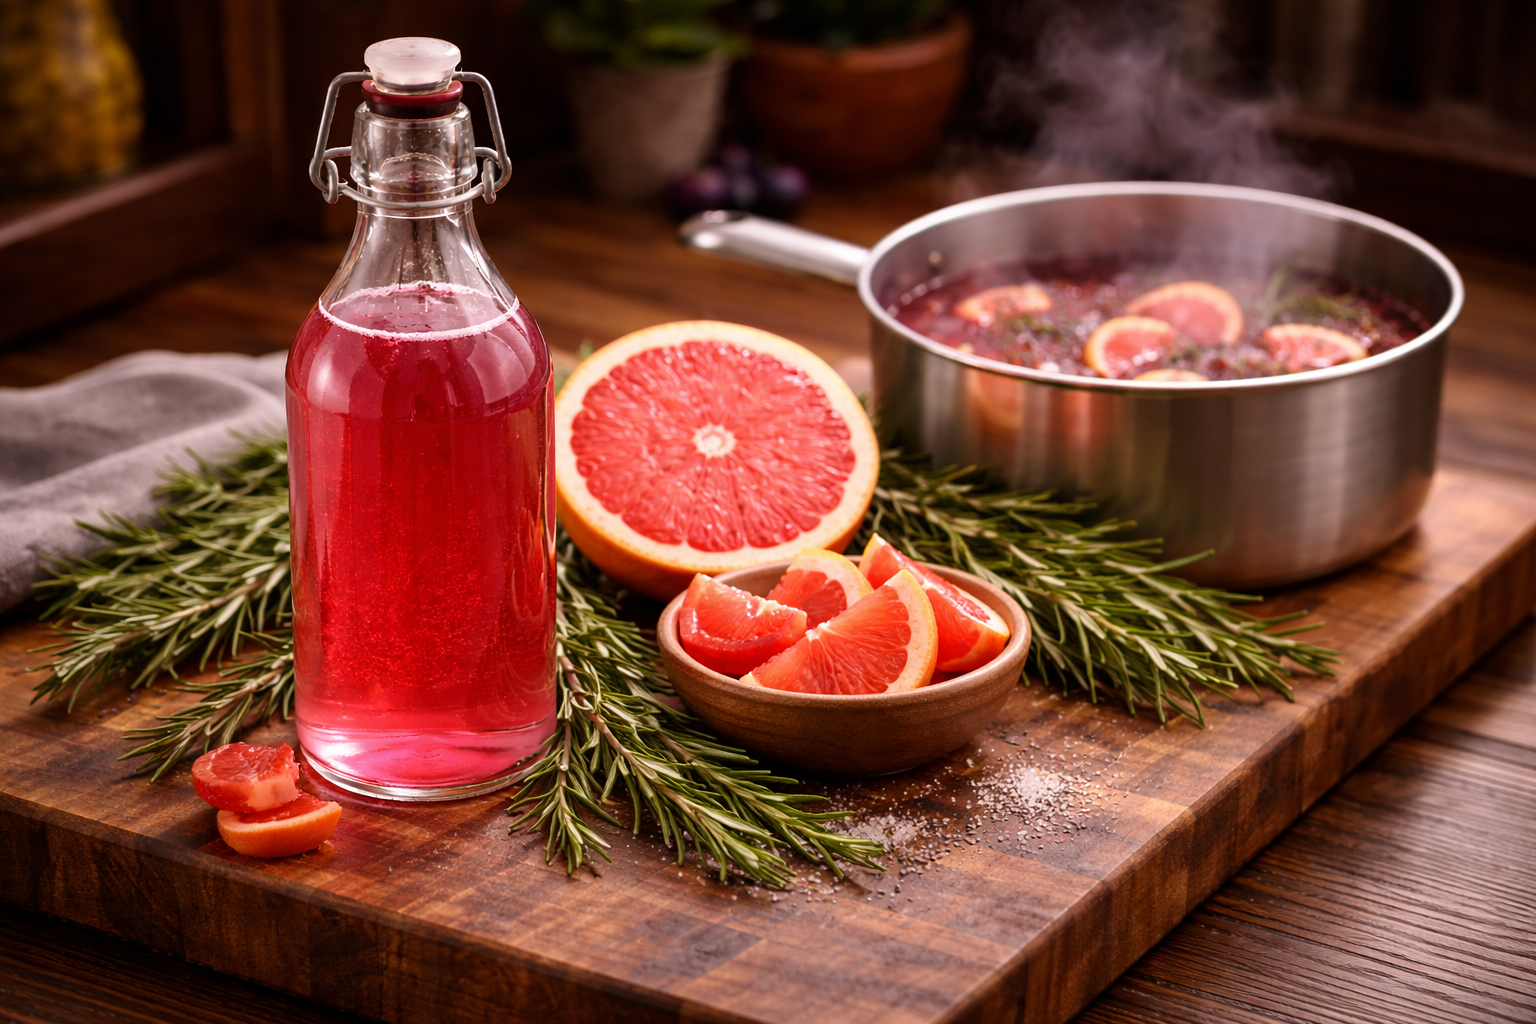
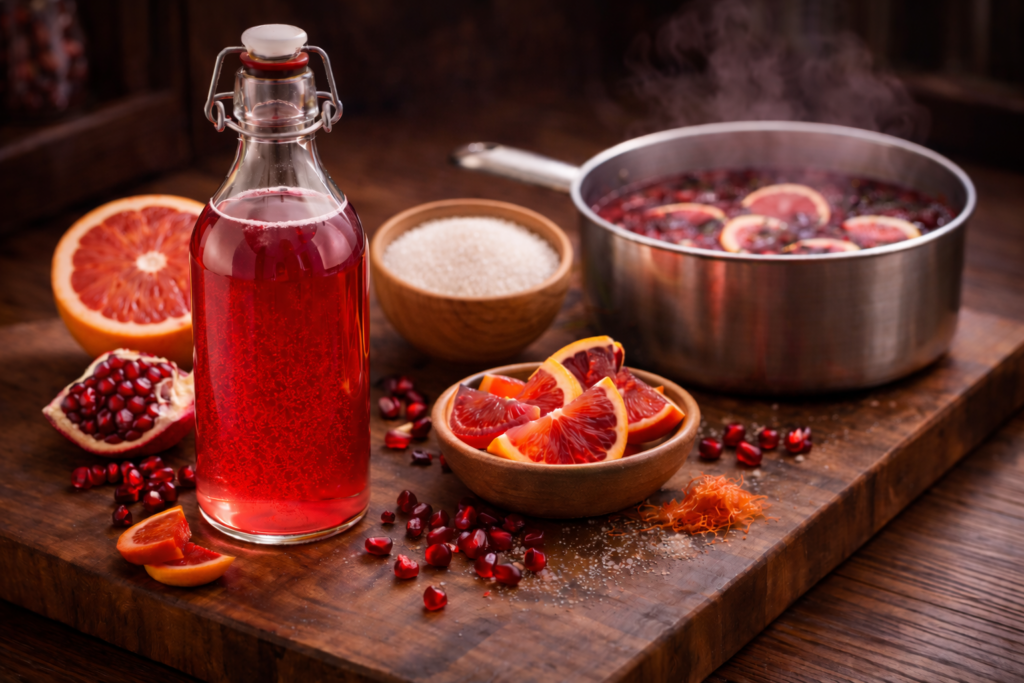
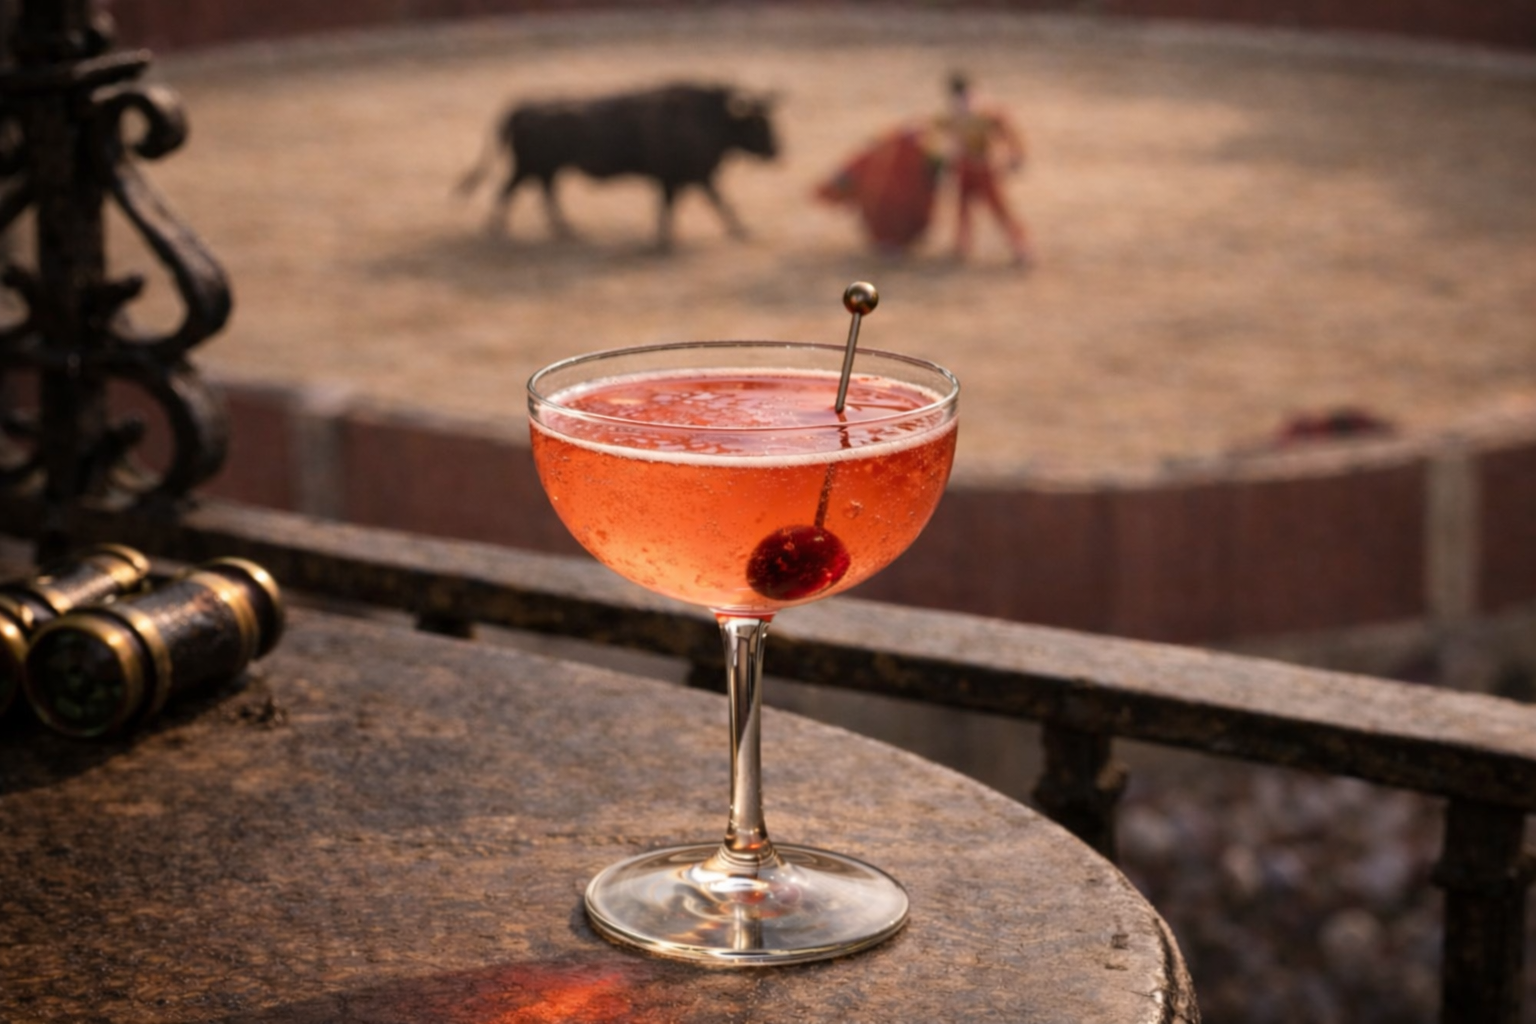
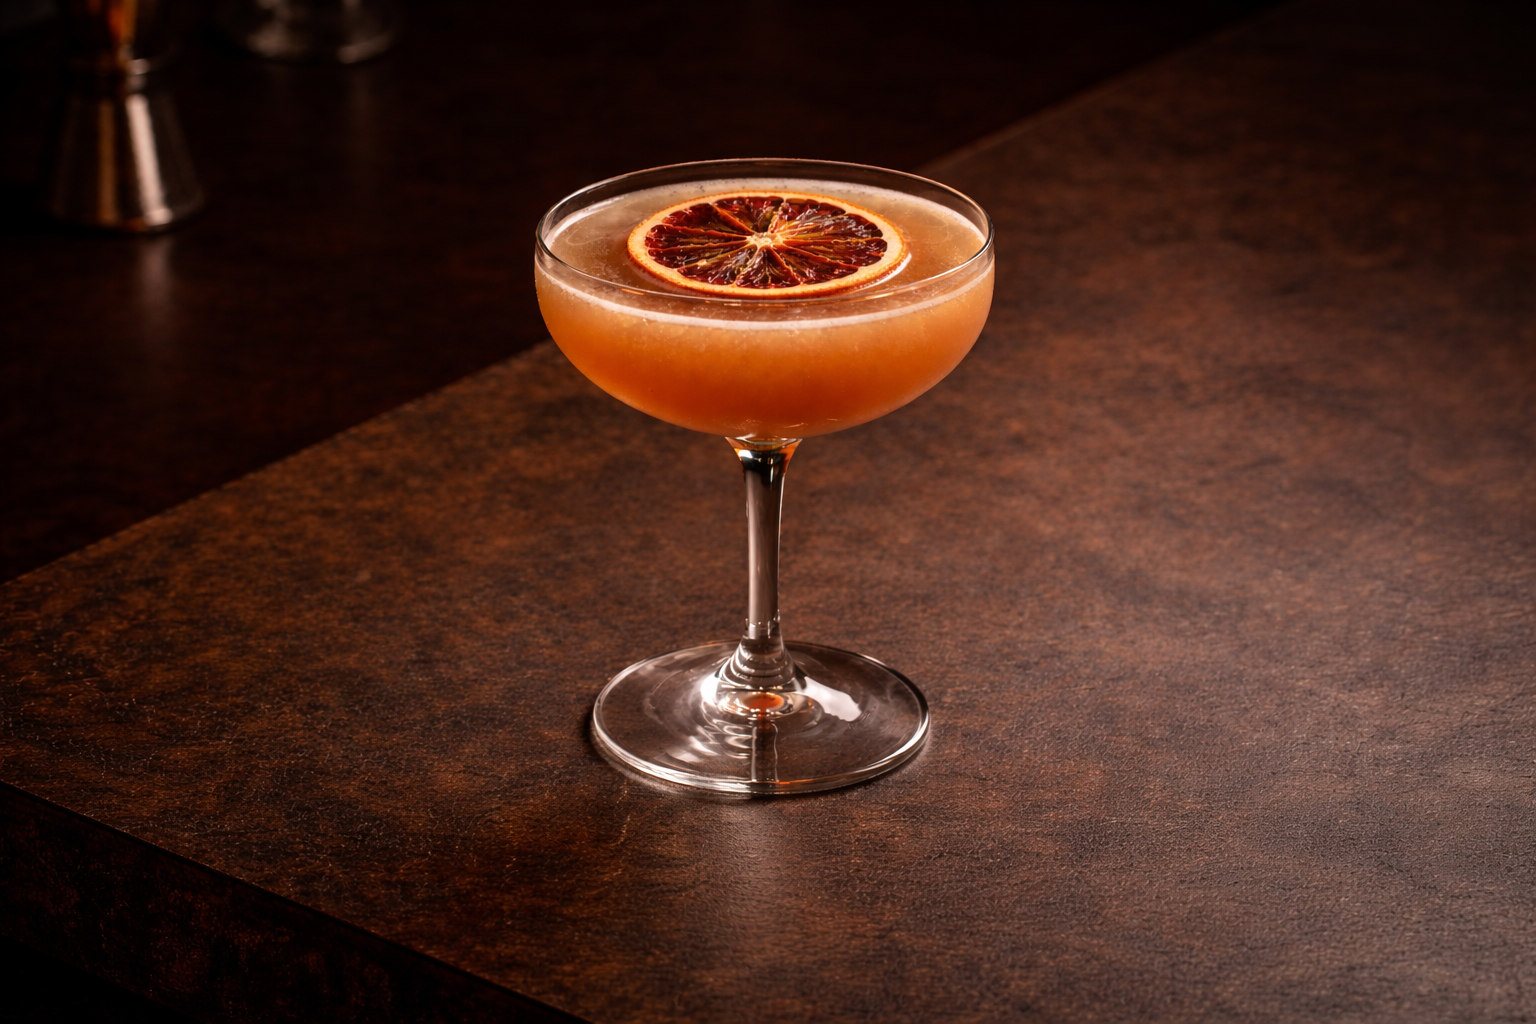
Blood Ruby is built for balance—where the deep, slightly sweet citrus of blood orange meets the sharper edge of ruby red grapefruit. The result is a syrup that carries both brightness and structure, with just enough bitterness to keep the sweetness in check. A touch of pomegranate rounds out the color and depth, giving it a richer, more layered profile that adds clarity and contrast to whatever you pair with it.


Blood Ruby Simple Syrup
Blood Ruby is built for balance—where the deep, slightly sweet citrus of blood orange meets the sharper edge of ruby red grapefruit. The result is a syrup that carries both brightness and structure, with just enough bitterness to keep the sweetness in check. A touch of pomegranate rounds out the color and depth, giving it a richer, more layered profile that adds clarity and contrast to whatever you pair with it.
Print
Pin
Servings: 24 servings
Calories: 102kcal
Ingredients
- 3 cups water (filtered)
- 3 cups granulated sugar
- 1 large ruby red grapefruit
- 4 whole blood oranges
- ¼ oz pomegranate juice
Instructions
Infusion Ingredient Prep
- Wash and dry 1 large ruby red grapefruit and 4 whole blood oranges
- Take citrus zester to ruby red grapefruit rind until you have about 1 tbsp of grapefruit zest; set aside.
- Zest one blood orange rind—this should yield about 2-3 tbsp blood orange zest, depending on size; set aside.
- Peel grapefruit and separate segments; set aside in small bowl.
- Peel the 4 blood oranges and separate the segments, setting them aside in a small bowl.
CAUTION: Be sure to only zest the rind and not the white pith underneath; the pith is extremely bitter and will ruin the flavor profile of the syrup.
TIP: If there is still a lot of white pith left on the fruit after peeling, take a small paring knife to remove any thick parts of pith before separating the segments.
Syrup Prep
- Pour 3 cups granulated sugar into 6-quart stockpot.
- Add both the grapefruit and blood orange zests and gently muddle to release the oils into the sugar.
- Pour blood orange segments into stockpot and muddle into sugar until segments are thoroughly smashed and sugar is stained with blood orange juice completely.
- Add grapefruit segments into stockpot and muddle into sugar until segments are thoroughly smashed.
- Add 3 cups filtered water onto muddled sugar and stir to combine.
Cooking
- Bring ingredients to a boil in the stockpot, stirring until sugar is completely dissolved.
- Reduce heat and let ingredients simmer for at least 30 minutes.
- Add ¼ oz pomegranate juice into the stockpot and stir
- Remove stockpot from heat and ingredients steep while it cools for at least 1 hour.
Straining
- Place mesh strainer over large pot or bowl (deeper than the depth of the strainer so that the liquid clears the bottom of the strainer).
- Slowly pour contents of simmered liquid into strainer. Using muddler, gently press as much liquid from the contents of the strainer as possible (without damaging your strainer from the pressure).
Storing
- Pour syrup into glass swing-top bottle (or jar if you don't have a bottle) and store at least 4 hours in the fridge to cool. Overnight cooling is even better.
Nutrition
Serving: 1oz | Calories: 102kcal | Carbohydrates: 26g | Protein: 0.1g | Fat: 0.1g | Saturated Fat: 0.003g | Polyunsaturated Fat: 0.01g | Monounsaturated Fat: 0.003g | Sodium: 2mg | Potassium: 20mg | Fiber: 0.2g | Sugar: 26g | Vitamin A: 159IU | Vitamin C: 4mg | Calcium: 4mg | Iron: 0.02mg