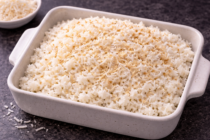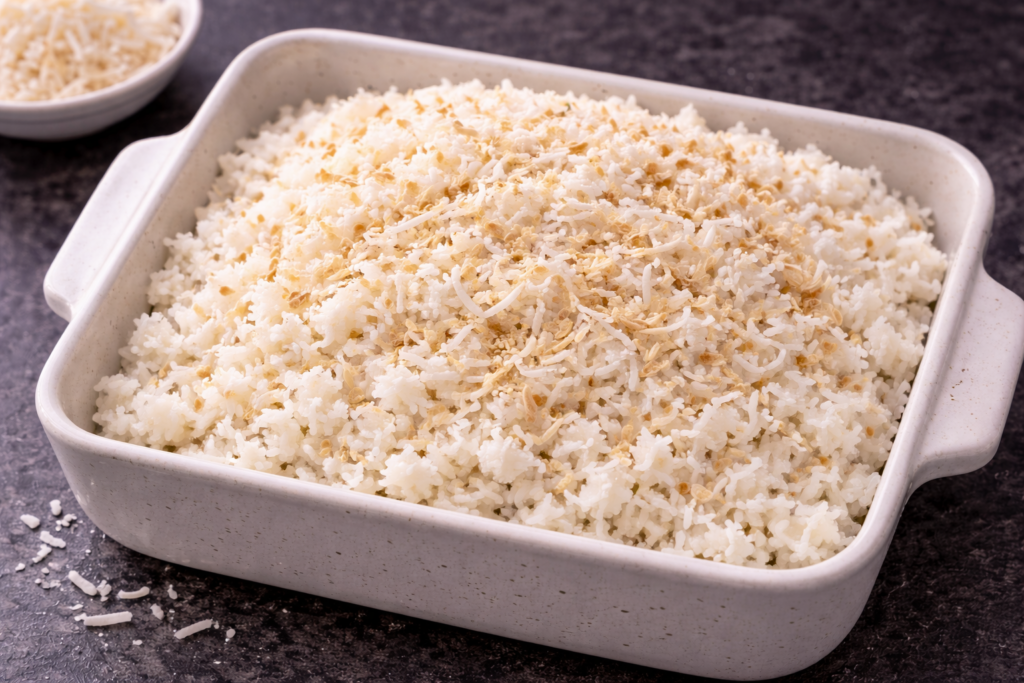
Light, fluffy white rice baked gently in the oven for perfectly cooked grains every time. This simple, reliable method removes the guesswork of stovetop rice and delivers consistent results with almost no effort.

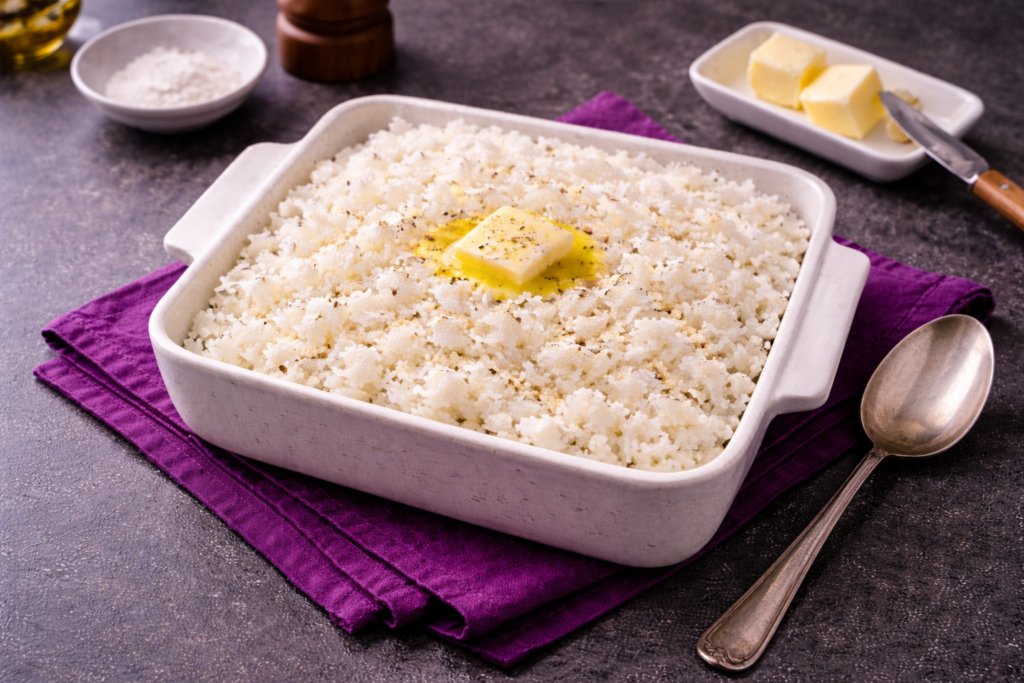

Perfect Oven-Baked White Rice
Light, fluffy white rice baked gently in the oven for perfectly cooked grains every time. This simple, reliable method removes the guesswork of stovetop rice and delivers consistent results with almost no effort.
Print
Pin
Servings: 4 servings
Calories: 388kcal
Equipment
- 4-in-1 strainer (or mesh collander)
Ingredients
- 2 cups long grain
- 3 cup water (or broth)
- 2 tbsp butter (unsalted)
- 1 tsp Kosher salt
- ½ tsp black pepper (ground)
Instructions
Rinsing & Soaking Rice
- Using a 4-in-1 strainer, rinse 2 cups long grain white rice until nearly clear. This step removes excess starch that typically coats the grains, which would make the rice on the sticky/clumpy side when cooked.
Preparing Rice
- Let the rice drain for 5 minutes while you move onto the next step.
- Preheat oven to 375℉.
- While the rice is straining and the oven is preheating, add 3 cups water (or substitute with chicken or vegetable broth for a more flavorful rice), 2 tbsp butter, 1 tsp salt, and ½ tsp ground black pepper to a sauce pan and bring to a simmer, stirring to make sure the butter is melted and salt is dissolved.
- Pour drained rice into an 8" square baking dish and add warmed liquid mixture over the top, using a wooden spoon or spatula for a quick mix, and cover with foil.
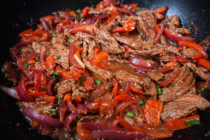
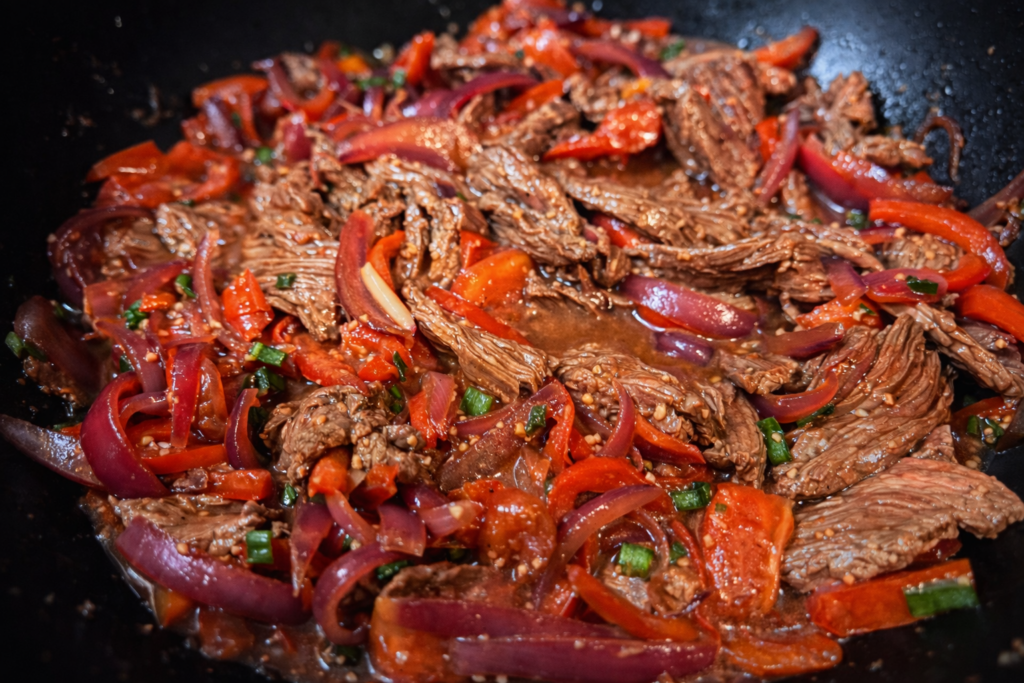
OPTIONAL SPICE & FLAVOR ADDITIONS: Because this is a pretty flavorless side, this recipe goes well with a diverse variety of cuisines and can also be tailored to fit the cuisine you are planning to pair with it by adding additional spices—from garlic, onion powder, cumin, turmeric, sazon, cardamon, cilantro, tarragon, etc—or other ingredients. Spices can be added into the broth mixture at this step; if you are adding solid ingredients like vegetables, I recommend adding them as the last step.
Cooking Rice
- Place pan in 375 ℉ preheated oven and cook undisturbed for 40 minutes.
Rest Time
- After 40 minutes, remove from oven and let rest on trivet on counter for an additional 15 minutes undisturbed. DO NOT lift foil until the 15-minute rest time has passed.
- Remove foil and fluff rice with wooden spoon or spatula.
- Serve and enjoy.
Nutrition
Calories: 388kcal | Carbohydrates: 74g | Protein: 7g | Fat: 6g | Saturated Fat: 4g | Polyunsaturated Fat: 0.4g | Monounsaturated Fat: 2g | Trans Fat: 0.2g | Cholesterol: 15mg | Sodium: 640mg | Potassium: 111mg | Fiber: 1g | Sugar: 0.1g | Vitamin A: 176IU | Calcium: 34mg | Iron: 1mg