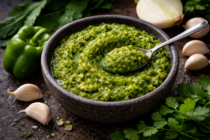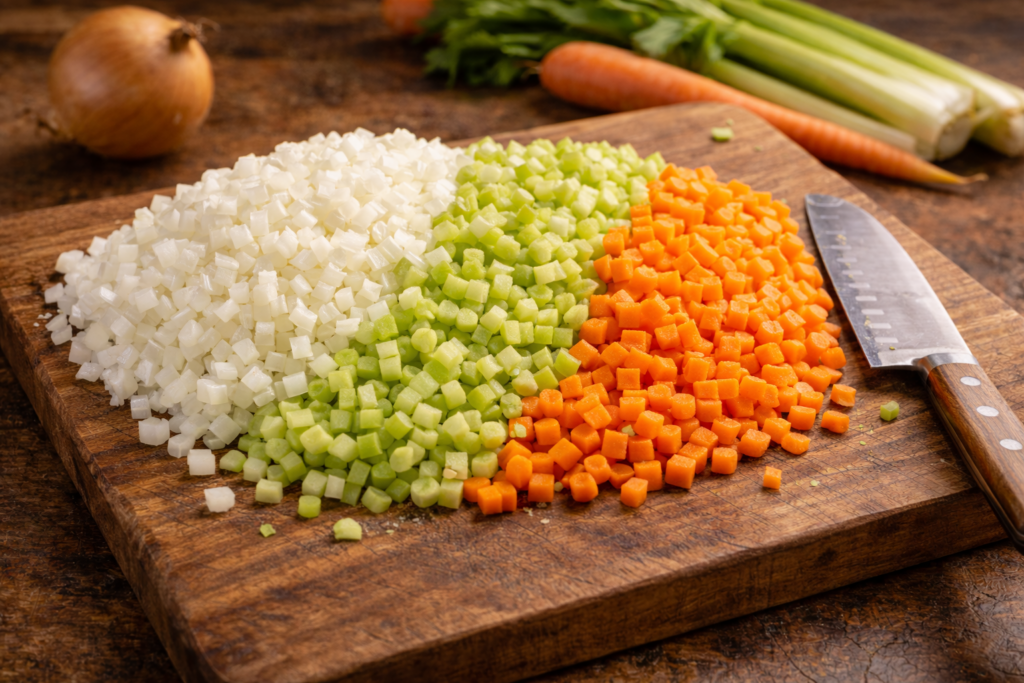
Recaíto is a green, herb-forward aromatic base used throughout Puerto Rican cooking, built from peppers, onion, garlic, and fresh herbs blended into a coarse paste. It’s the backbone of dishes like arroz con gandules, beans, and stews, where it’s added at the start to establish flavor that carries through the entire dish.


Recaíto
Recaíto is a green, herb-forward aromatic base used throughout Puerto Rican cooking, built from peppers, onion, garlic, and fresh herbs blended into a coarse paste. It’s the backbone of dishes like arroz con gandules, beans, and stews, where it’s added at the start to establish flavor that carries through the entire dish.Its character comes from the balance between fresh herbs and mild, aromatic peppers, creating a base that is both bright and savory with a depth that builds as it cooks. The texture allows it to disperse quickly in the pan, coating ingredients and setting the tone early, so that every layer of the dish develops from the same foundation.
Print
Pin
Rate
Servings: 10 servings
Calories: 26kcal
Equipment
- food processor (or blender)
Ingredients
- 2 medium green bell pepper (or Cubanelle)
- 2 medium onions
- 1 bunch culantro
- 6 small ajíes dulces
- 20 cloves garlic (peeled)
- ½ cup cilantro (loosely packed)
Instructions
Washing & Prep
- Wash and dry 2 medium green bell pepper, 2 medium onions, 1 bunch culantro, 6 small ajíes dulces, and cilantro.
- Peel onion and coarsely chop.
- Removed stem, seeds, and piths from 2 medium green bell pepper and 6 small ajíes dulces; coarsely chop.
- Peel and cut ends off 20 cloves garlic.
- Coarsely chop ½ cup cilantro, loosely packed.
Food Processor
- Add prepped ingredients and 1 bunch culantro to food processor and pulse until thoroughly blended.
Storage
- Store recaíto in airtight jar in fridge for immediate use.
- OR pour into silicone ice cube molds and freeze for future use; remove from mold and store frozen recaíto cubes in freezer bag.
Nutrition
Calories: 26kcal | Carbohydrates: 6g | Protein: 1g | Fat: 0.1g | Saturated Fat: 0.03g | Polyunsaturated Fat: 0.03g | Monounsaturated Fat: 0.01g | Sodium: 4mg | Potassium: 106mg | Fiber: 1g | Sugar: 2g | Vitamin A: 197IU | Vitamin C: 23mg | Calcium: 19mg | Iron: 0.3mg